Hi guys!
Just thought Id put this thread together showcasing a small project I done just as a filler really to break up painting stages between painting a lot of mirkwood elves!!!
Iv had this project in mind for a while as I had the parts in my bits box but just never got around to doing it.
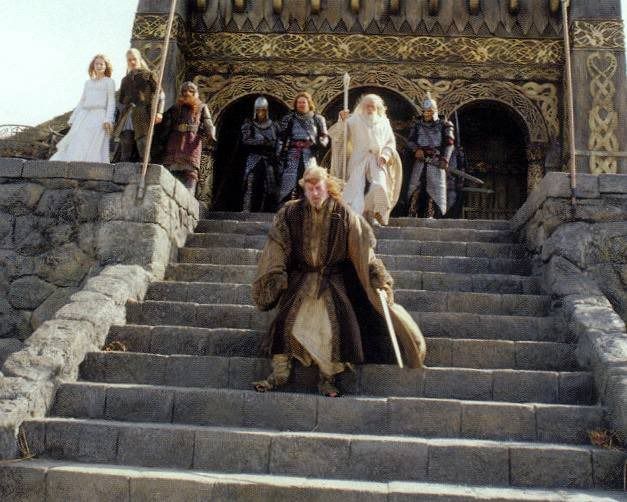
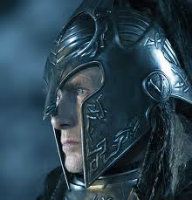
So this is the scene Id like to have a Theoden model for. I love the outfit to show him as a king. The armour models are great but just really wanted a non armoured version also.
So, what did I use?
Body - Denethor
Head - Theoden un helmed obviously
One of the simplest conversions you can do is a simple head swap so its very straight forward, this version had a couple of other bits and bobs done as you will see.
STAGE 1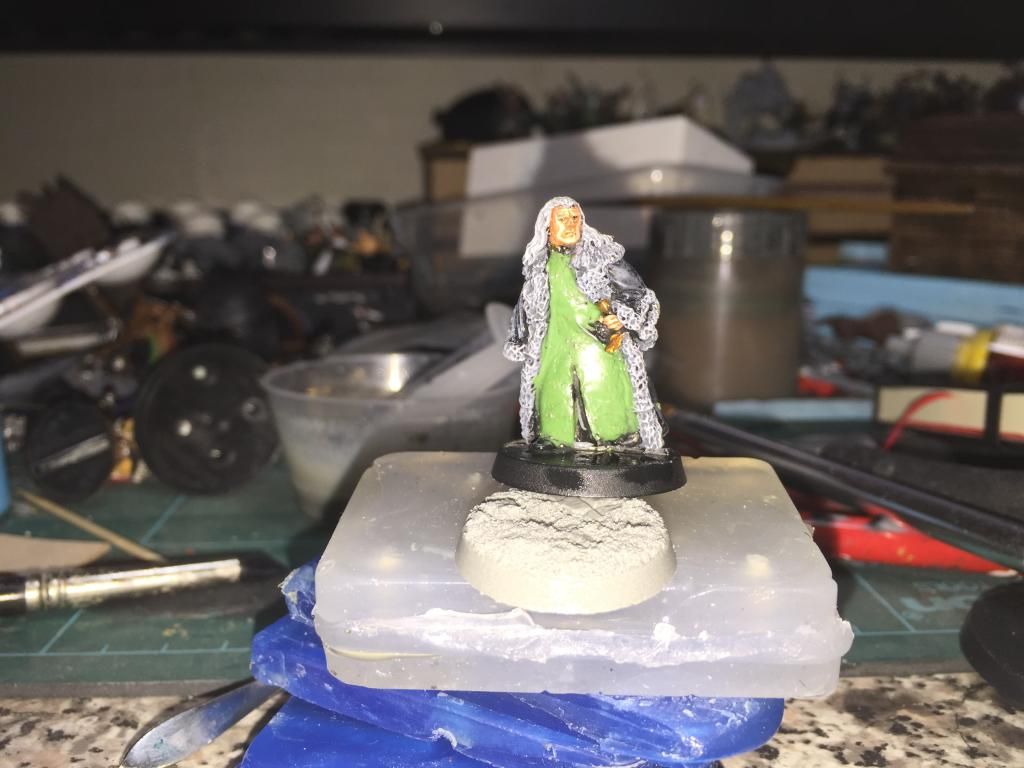
The Denethor model has a mail underskirt whereas Teodne does not so you will need to mix some green stuff and spread it over the mail so obscure the detail and get a nice flat surface to represent cloth.
STAGE 2Easy stage, using a razor saw remove the head at the neck. (Note, in hinsight I would of done this before stage 1, but due to doing this in the fly I didnt really pre plan)
STAGE 3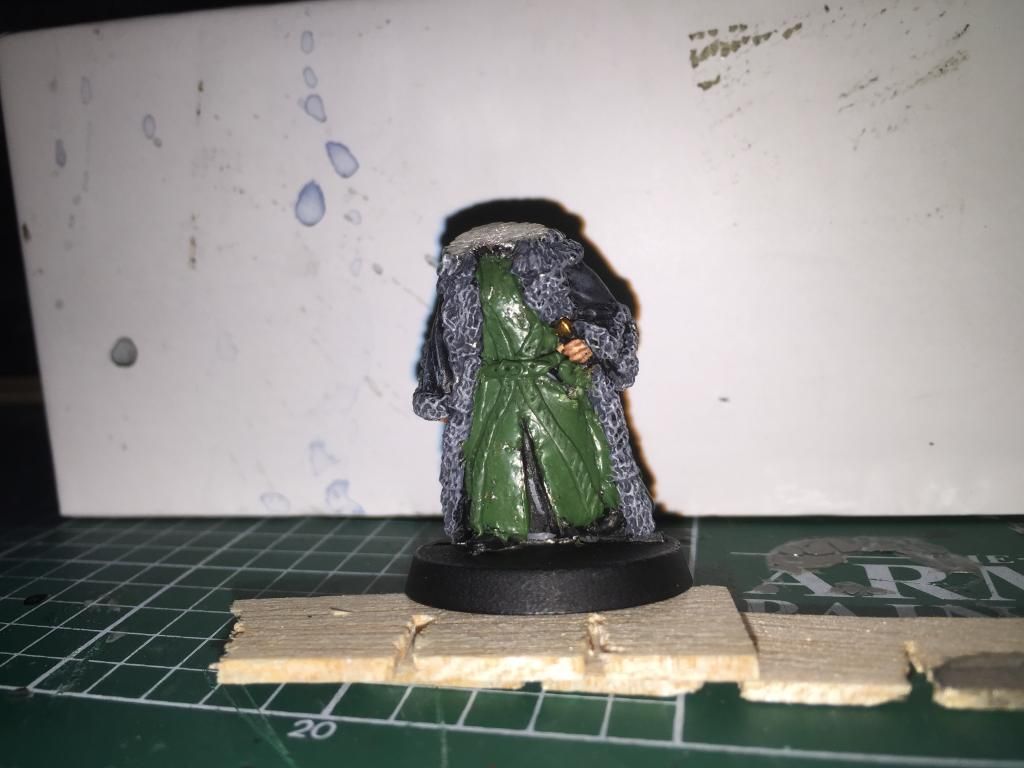
Adding detail.
So using stills from the movie I could see the layers of cloth and how many there needed to be. So first I rolled out two thin greenstuff sausages to create the hem of the middle layer of clothing. Pressing this into place and then usind a modelling tool I pressed into these sausages where the belt would sit.
Then using a greenstuff sausage again I placed the belt.
Once these were placed I then proceeded to give the sausages aflater look with crisp straight edges. I then added the belt holes and some pattern to the hem.
This part really should of been done over a longer period of time so the GS would harden and Id of got crisper edges. (Thanks Dave Fredericks for the tip), but due to me just doing this inbetween painting stages I didnt spend enough time on it really.
STAGE 4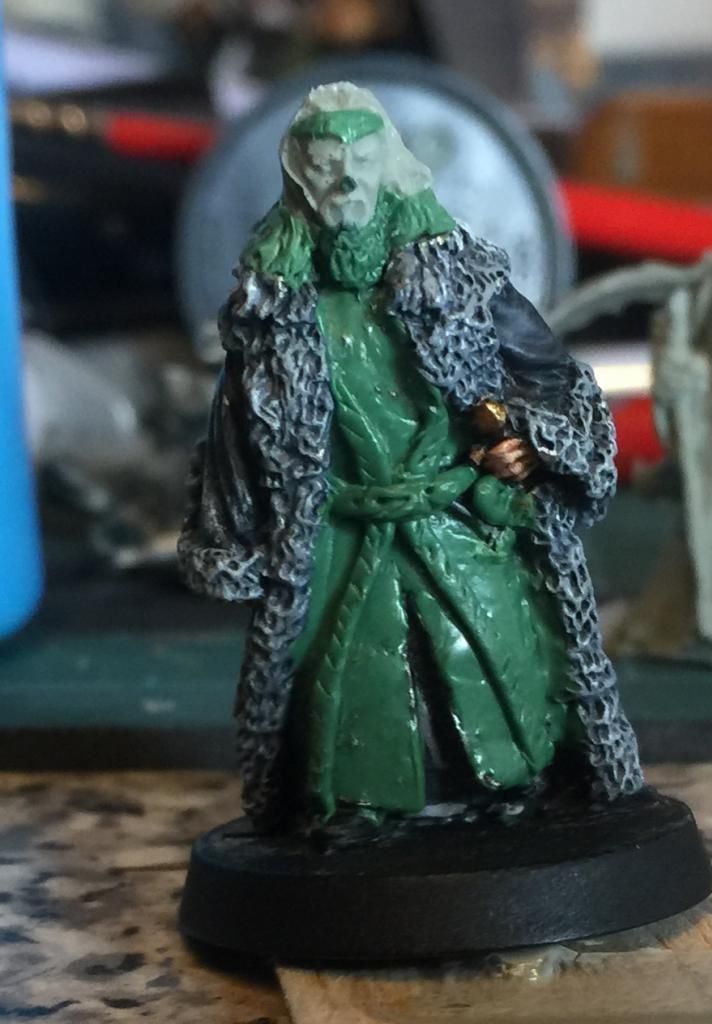
Now you can attach the head. Theodens hair is all over the place at this stage in the movie so you can get a good blend using GS again and feather it all in.
I also extended his beard to neaten the joint of the head, added the crown and re moulded the hilt of the sword to suit the sword in the film.
I also added some detail the the collar of the inner robe just because it looked a bit bland.
STAGE 5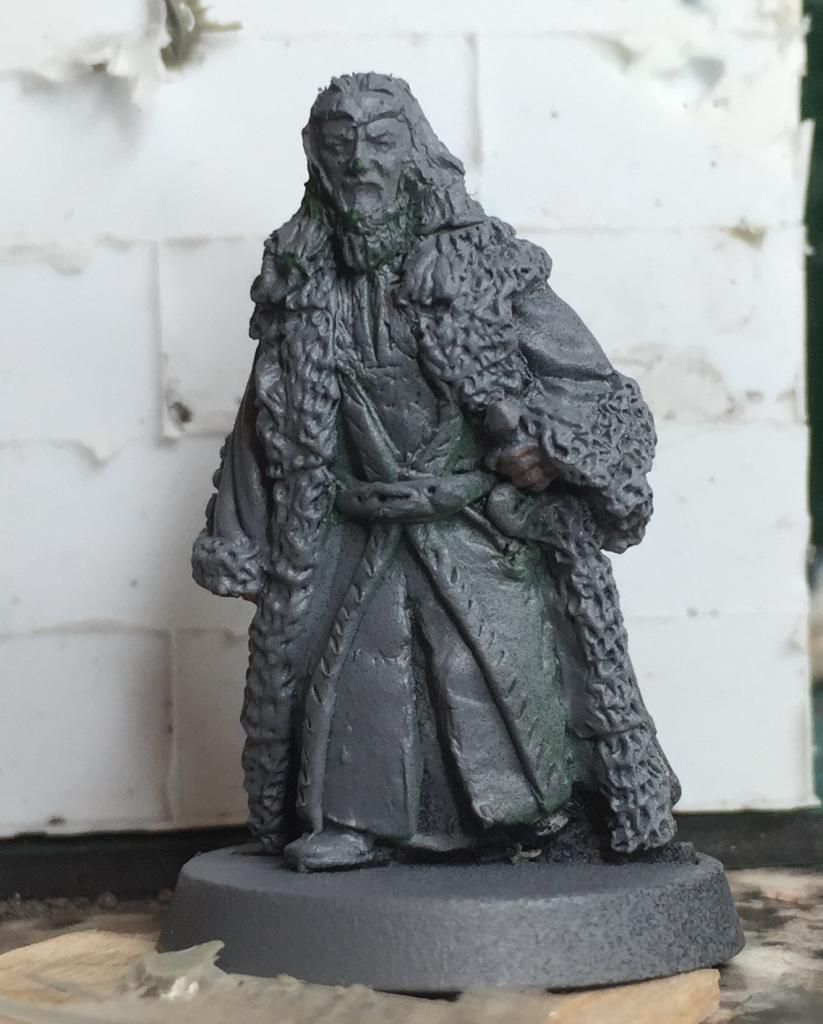
A quick undercoat and fill any gaps with liquid GS ( youll see the tip of the nose)
STAGE 6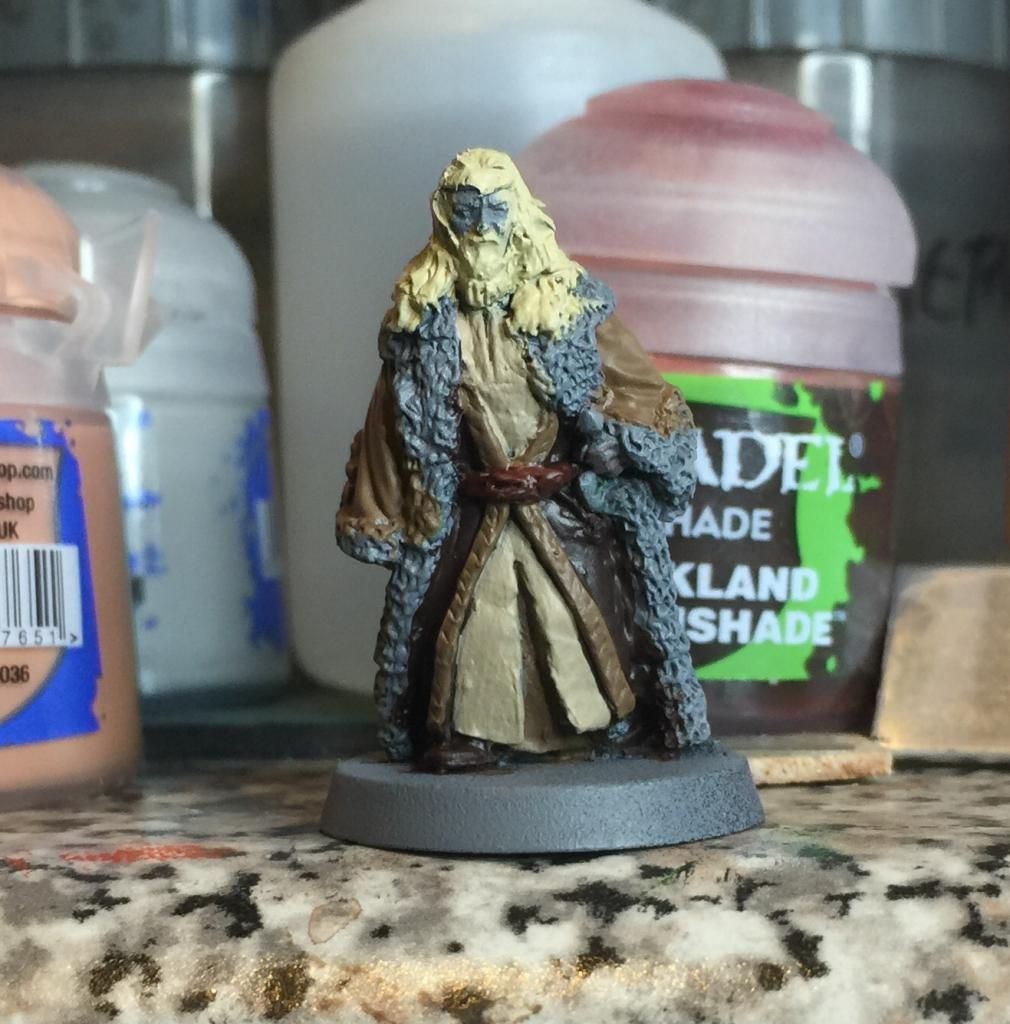
Start applying the base colours you think suit the model.
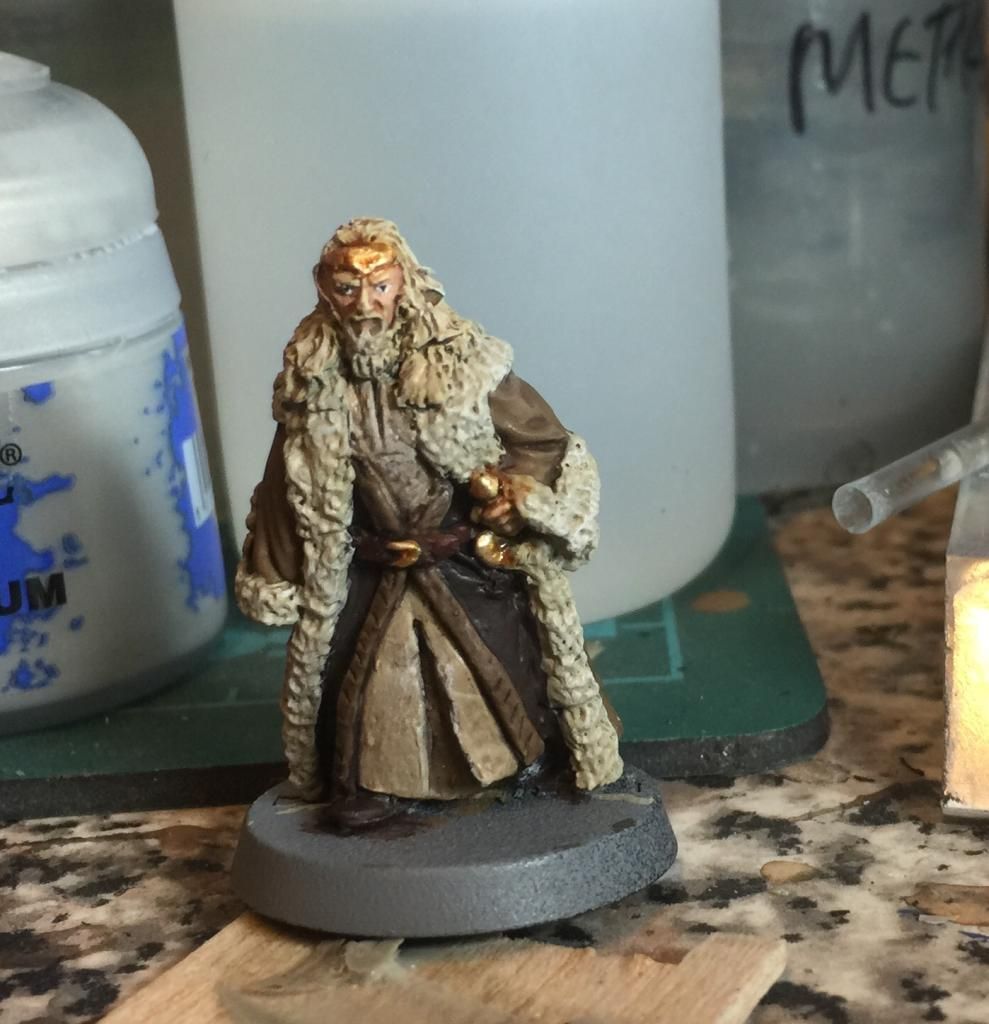
And thats him done!
I am going to do another I think but give it more of my time both on the modelling side and the painting side.
I knida rushed this one as I was just killing time whilst paint was drying on my elves, lol
Anyway i hope you like this and maybe learn a few little things to help you do similar.
Cheers.
 Top
Top Top
Top Top
Top Top
Top Top
Top Top
Top Top
Top Top
Top Top
Top Top
Top Top
Top Top
Top Top
Top Top
Top Top
Top Top
Top


 "
"
