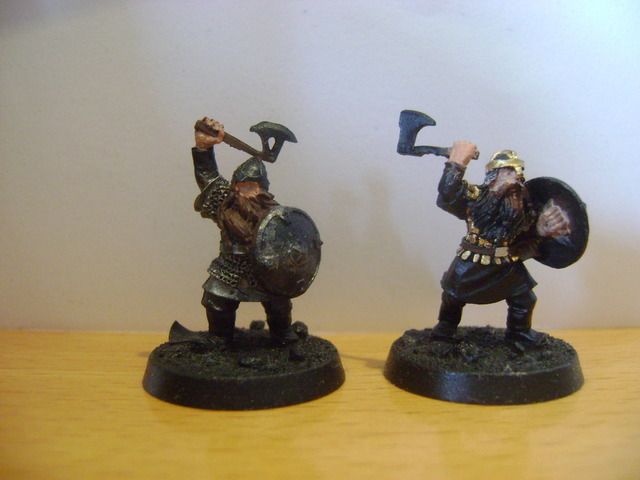
As Gothmog mentioned, they are from the Mines of Moria starterbox, oh well, the skeleton is, the shields are from the King's Champion's heralds and the other one is from a vault warden team, I also molded the pike from them.
How I made them? Well, very easy.
here's what you'll need:
-Greenstuff
-Milliput
-LEGO blocks
-oil (like for cooking or such)
-shields, weapons, anything you want to get molds of
Here we go:
Take a flat LEGO piece, the ones you build things on not the real bricks. If you got a nice piece, which isn't to small, you'll have to make sure your shields etc will be able to fit. Now, put the LEGO bricks on the flat piece, the best ones to use are the rectangular ones (those with just one dot on them, if you know what I mean) make a square with them on the flat piece. Once you've done this, oil the whole thingy, I used baking oil from our kitchen. Just take a brush and oil the inside of the square, (don't forget the sides!!). Next thing to do: get some milliput, mix it together and push it in the square thingy.
Take the pieces you want to make molds of now, for example a shield. push one side of the shield in the milliput and let it dry now (make sure you oil the shield before putting it in the milliput or it won't come out anymore). Once the milliput has dried, take out the shield and you'll see you've got a nice shape in the milliput. Now, if you want both side of the shield, just put the shield back in the milliput once it has dried. Now put some milliput on the other side of the shield too, so the shield will get trapped between two pieces of milliput (again, oil it).
Again, if it's dry, take out the shield and you'll see you've got a nice shape in the milliput. Thanks to the LEGO bricks, the milliput won't spread out if you're pushing the shield in the milliput.
now, the real thing, and also the most difficult one, making the doubles.
Once the milliput has dried, get some greenstuff, again, mix it together and such.. now, when the milliput is still between the LEGO bricks, oil it again, and push the greenstuff inside the shape of the shield. Make sure it's not to thick, otherwise the shield might look quite thick compared to the real ones. So don't take to much greenstuff, push it gently in the shape and let it dry. ofcourse if you made both sides of the shield, you can take some more greenstuff, otherwise it won't fit in the shapes and you'll get only half a shield on one side, you'll have to experiment with this a little.
After the greenstuff dried, gently pull out the greenstuff and you'll get a nice shaped shield!

Wash of the oil first and then cut of the remaining greenstuff which is still attached to the greenstuffed shield.
I hope you guys know what I mean 'cause it's pretty hard to explain without any pictures, perhaps I'll make a tutorial one of these days if I'm feeling a little beter.
But anyways, there's your answer on how I made the molds! Just make sure not to use to much milliput or greenstuff, sometimes you need to throw it away or something, and this way it'll get even more expensive than to but the real plastic/metal pieces

 Top
Top Top
Top Top
Top Top
Top Top
Top Top
Top Top
Top Top
Top Top
Top Top
Top Top
Top Top
Top Top
Top Top
Top Top
Top Top
Top Top
Top Top
Top Top
Top Top
Top


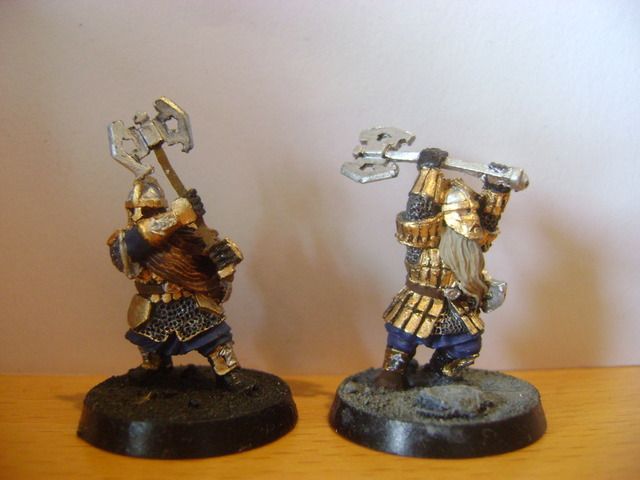
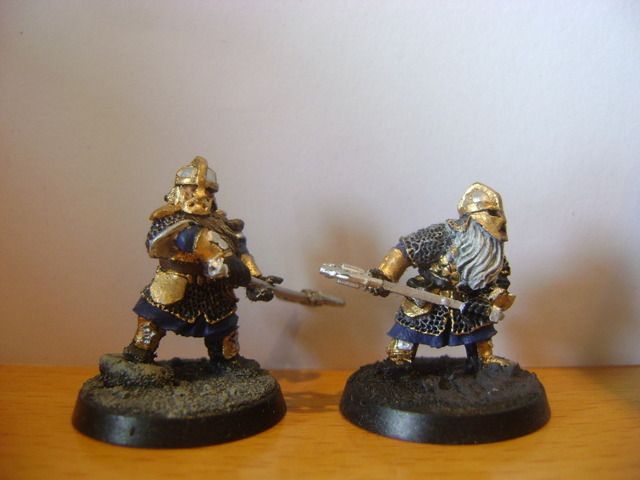
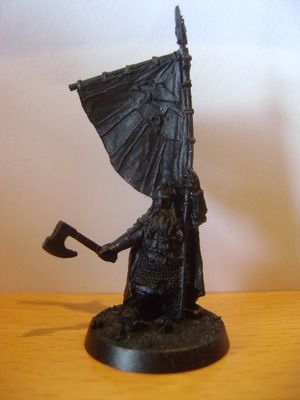
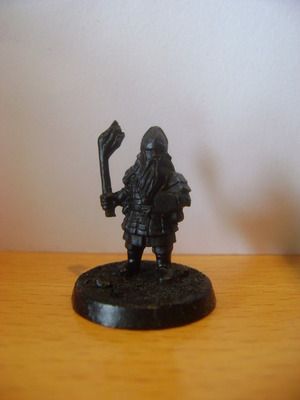
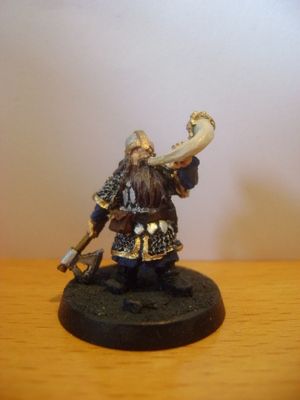
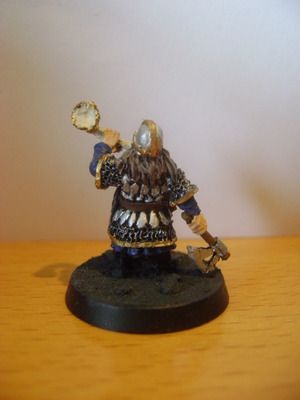
 )
)
 for those of you who ever played the the third age video game, you might remember that at one point you had to defeat this big, giant old warg who was hiding in a cave, here's a video that shows you (start at about 7 minutes)


 I got all my things from eBay, 36 inch GS for only 10 euro's, I thought that was cheap, so..
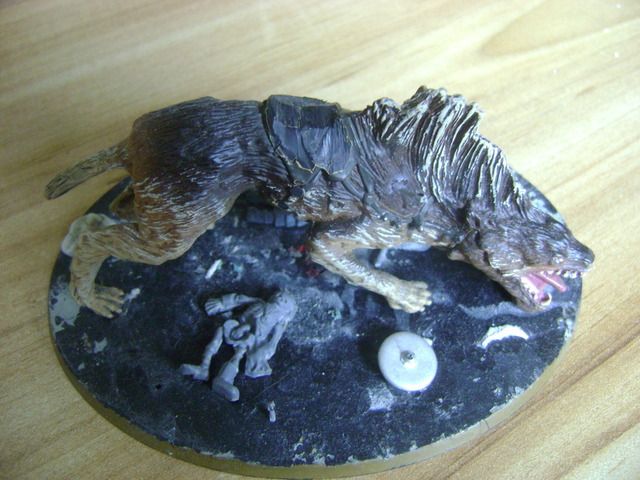
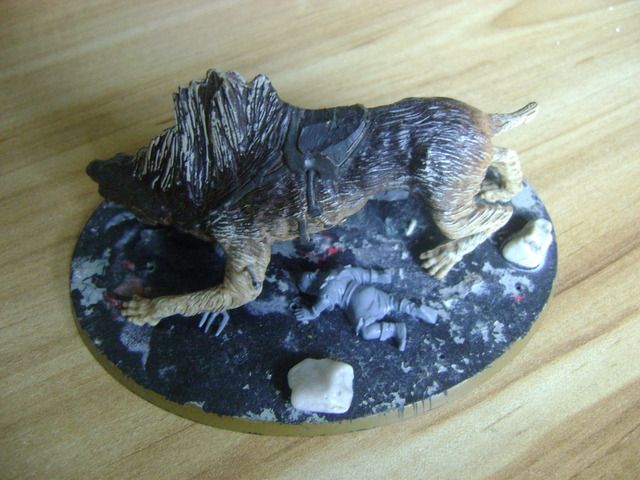
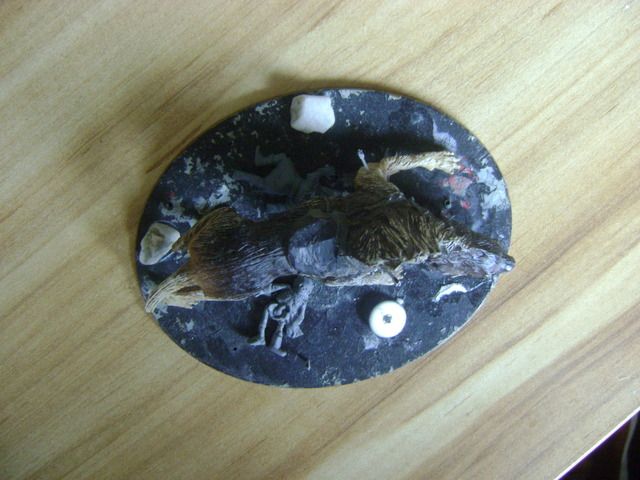
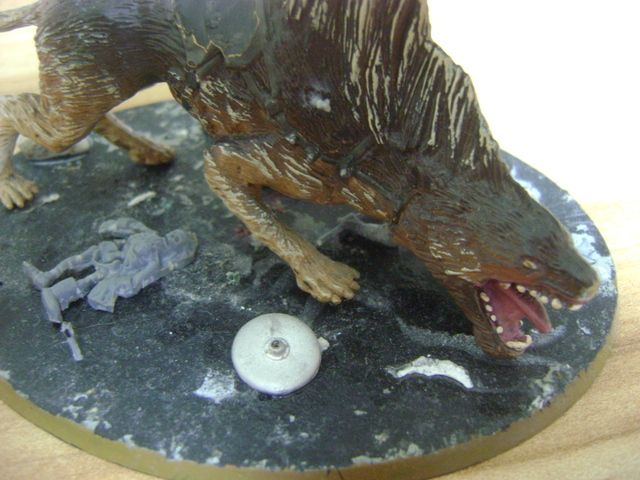


 what rulebook is he in? The moria/Angmar one or Mordor? It'd be silly to spend €20 on the Mordor book just for his profile since I don't play Mordor

