All times are UTC


It is currently Fri Nov 15, 2024 8:49 am


Post new topic Reply to topic  [ 180 posts ]  Go to page Previous  1, 2, 3, 4, 5, 6 ... 9  Next
Author Message
 Post subject:
PostPosted: Sun Dec 27, 2009 7:18 pm 
Craftsman
Craftsman
User avatar
Offline

Joined: Sat Nov 01, 2008 3:10 pm
Posts: 490
Location: Opende,Groningen,Netherlands
Images: 4
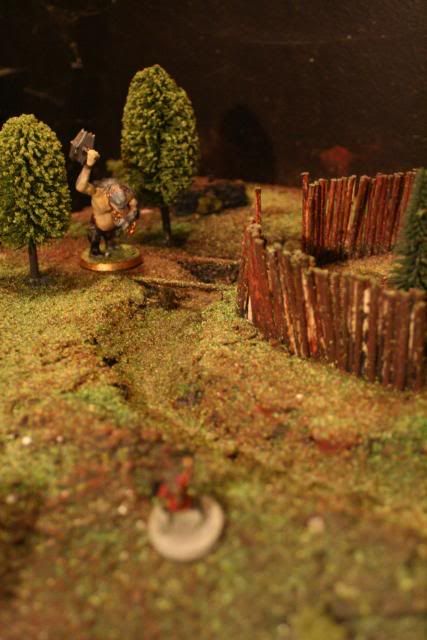
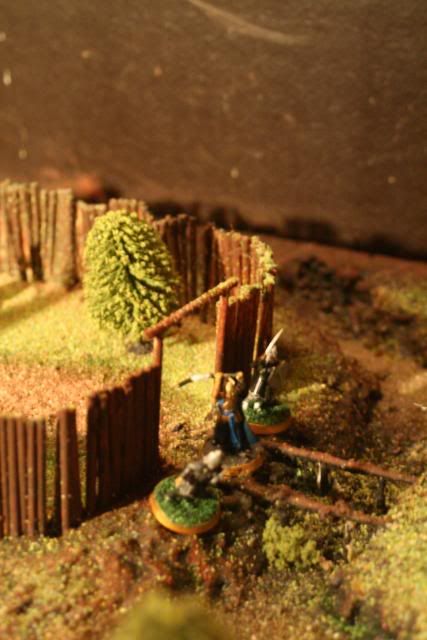
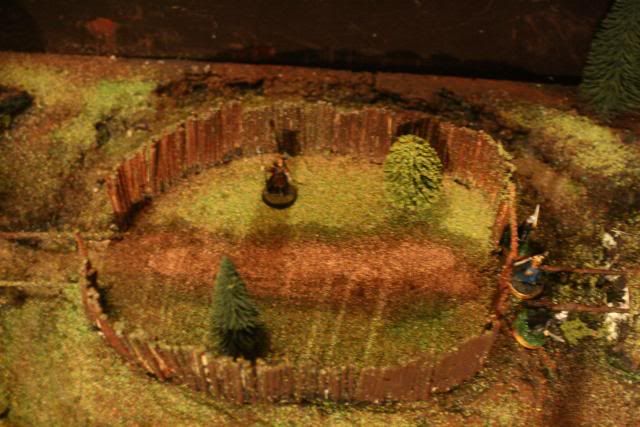
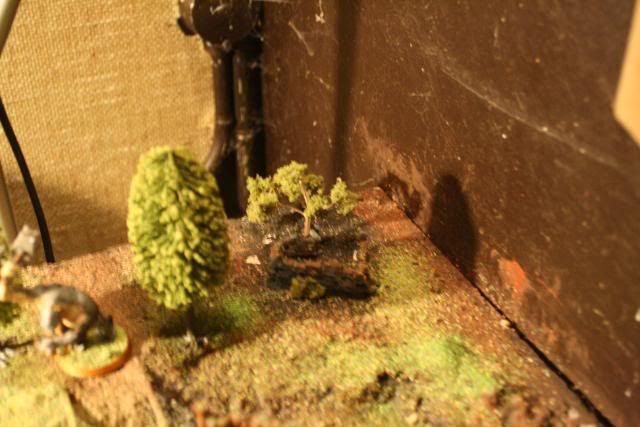
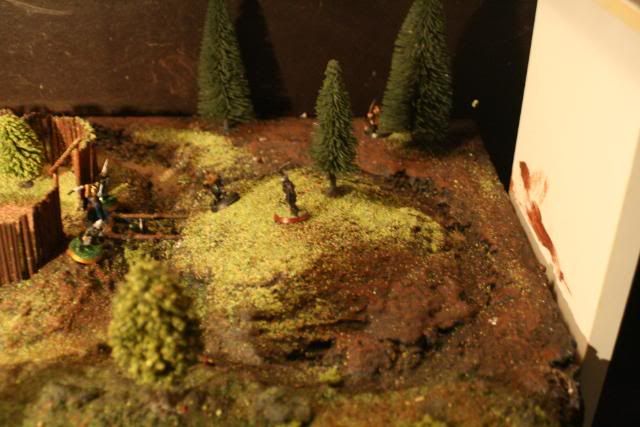
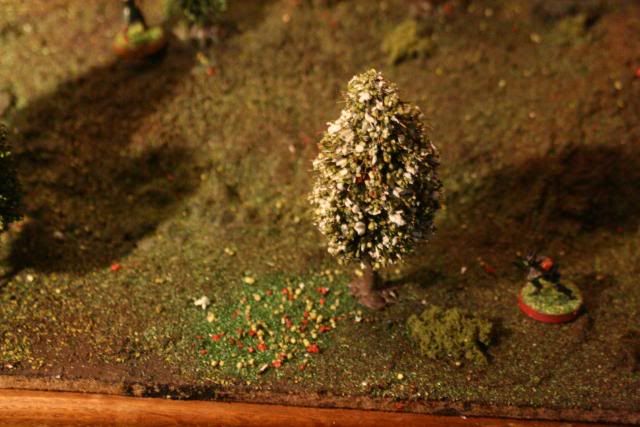
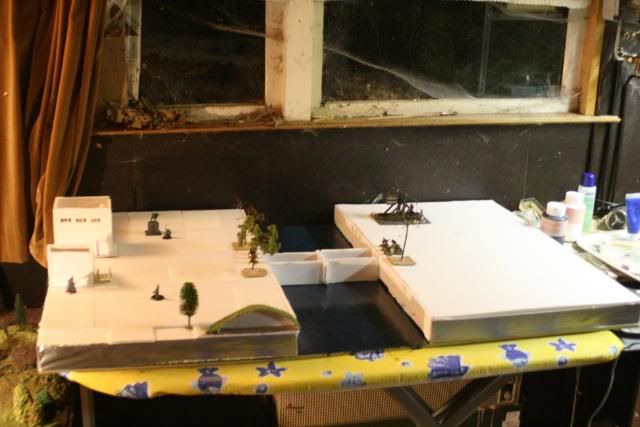
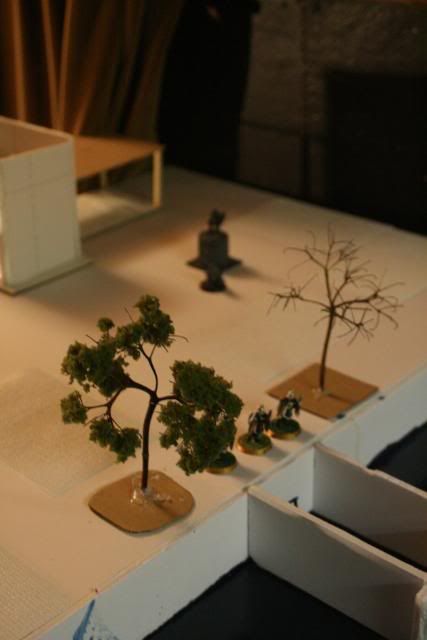
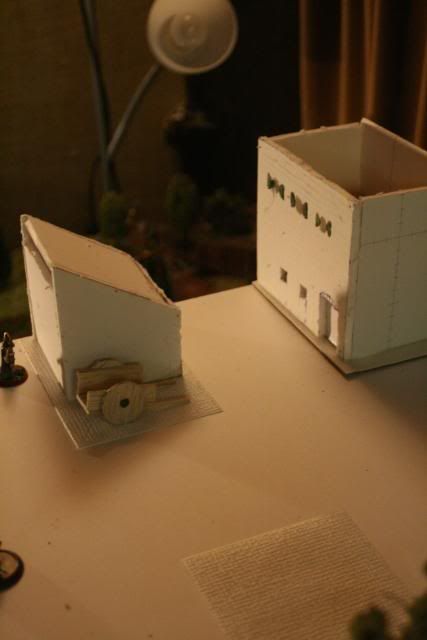
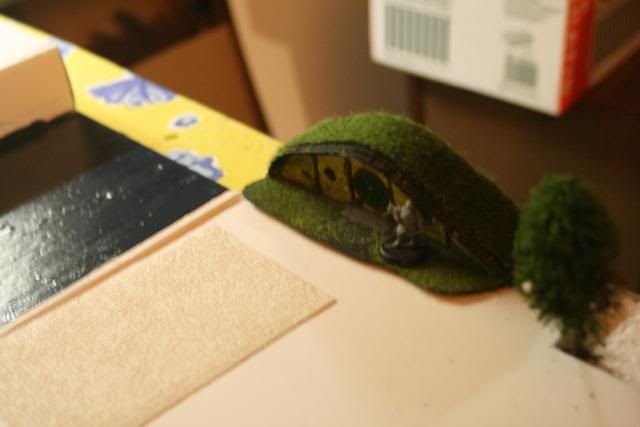
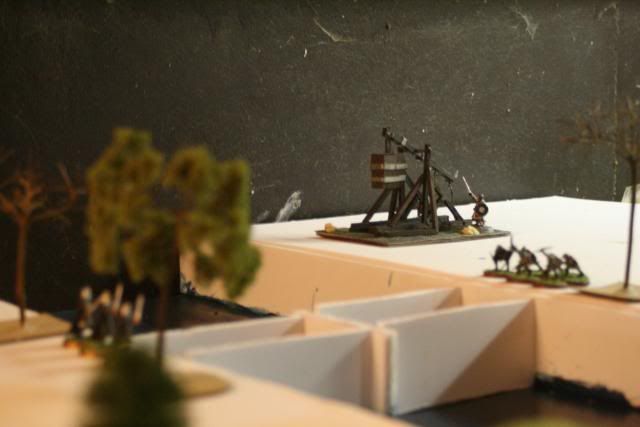
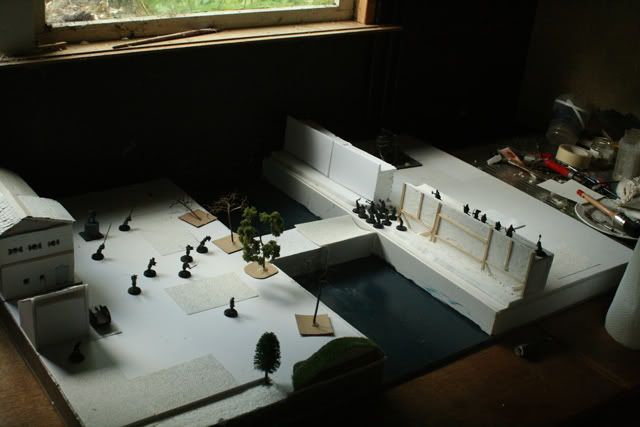
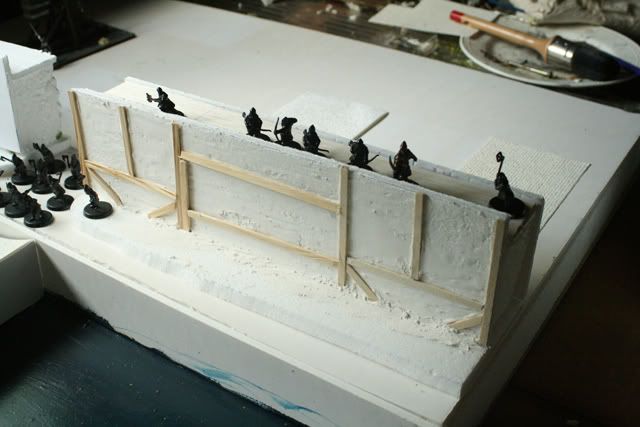
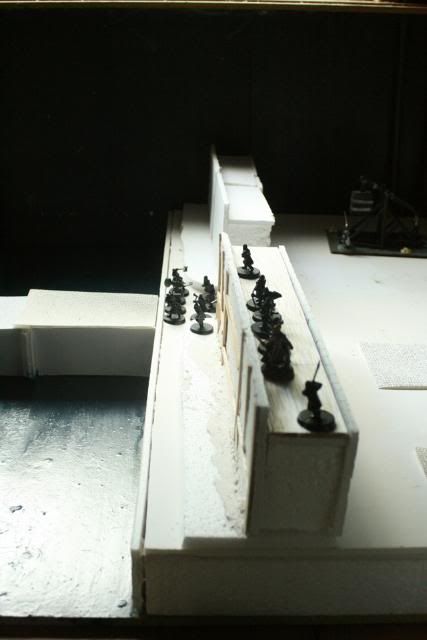
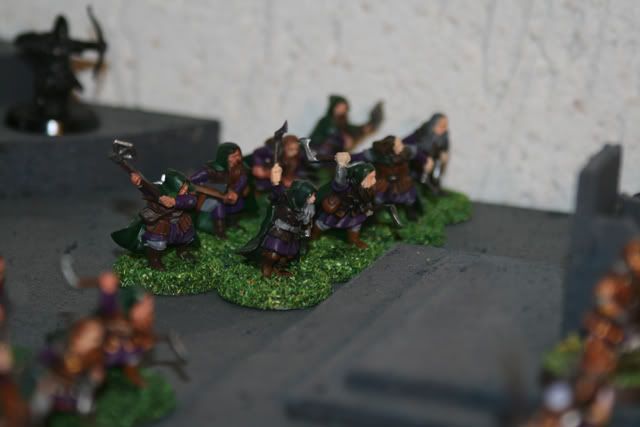
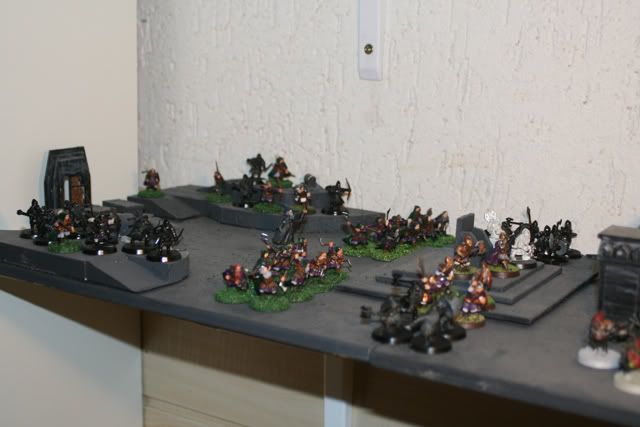
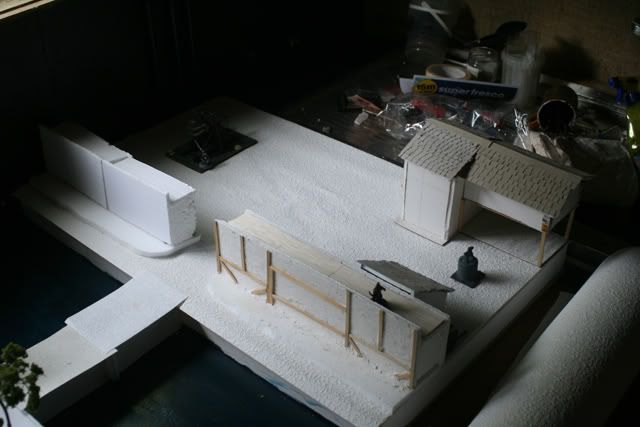
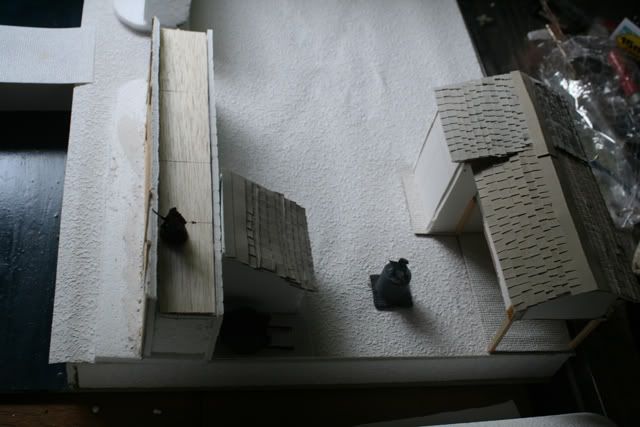
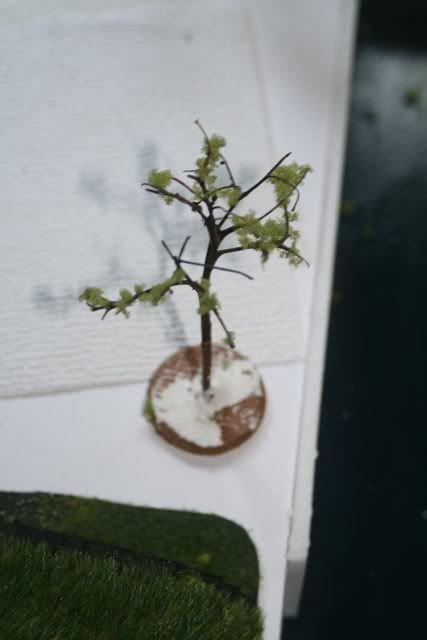
I don't have much time so I'll just post the pictures.

ImageImage
Image
Image
Image
Image

It still needs a lot of paint, details etc

Image
ImageImage
Image
Image
Image

I'll give more details tomorrow

_________________
“People often claim to hunger for truth, but seldom like the taste when it's served up.”
My wip
Top
  Profile  
Reply with quote  
 Post subject:
PostPosted: Wed Dec 30, 2009 11:40 am 
Elven Warrior
Elven Warrior
Offline

Joined: Sun Feb 22, 2009 4:46 pm
Posts: 881
Location: United Kingdom
WOW, it all looks REALLY GOOD! :yay:

Thanks for posting pics of the Wooden Fort. 8)

_________________
TO9G - 2010 Isengard
Top
  Profile  
Reply with quote  
 Post subject:
PostPosted: Wed Dec 30, 2009 11:41 am 
Elven Warrior
Elven Warrior
User avatar
Offline

Joined: Thu Jul 09, 2009 12:24 am
Posts: 934
Location: Australia
This looks fantastic :yay:

_________________
My old WIP thread - http://www.one-ring.co.uk/phpBB2/viewtopic.php?t=16246&start=0
Top
  Profile  
Reply with quote  
 Post subject:
PostPosted: Thu Dec 31, 2009 3:21 pm 
Craftsman
Craftsman
User avatar
Offline

Joined: Mon Aug 31, 2009 10:27 am
Posts: 446
Location: Chiang Mai, Thailand
Images: 2
Nice job. I like the tree with the snow. I wish I had the materials to make a board like that.
Osgiliath is also coming along very nicely. Great work on the buildings, I'm not so sure the hobbit hole fits but it looks great. I can't wait to see them all done. Keep up the good work.

_________________
“But God demonstrates his own love for us in this: While we were still sinners, Christ died for us.” -Romans 5:8
Top
  Profile  
Reply with quote  
 Post subject:
PostPosted: Thu Dec 31, 2009 3:32 pm 
Wayfarer
Wayfarer
User avatar
Offline

Joined: Tue Dec 29, 2009 11:02 am
Posts: 19
Location: England Kent
Really good work on the board but i also think the hobbit hole looks a bit 'out of place'.


How did you make the pallisade on the other board??


Luke

_________________
Check out my WiP blog!
Top
  Profile  
Reply with quote  
 Post subject:
PostPosted: Tue May 04, 2010 7:20 pm 
Craftsman
Craftsman
User avatar
Offline

Joined: Sat Nov 01, 2008 3:10 pm
Posts: 490
Location: Opende,Groningen,Netherlands
Images: 4
It's been a while, but I'm back, with an update. :D

@dloel I followed a guide in bgime, if you want me to, I could send it to you but it's dutch(doesn't matters a lot the pictures speak for themselves)

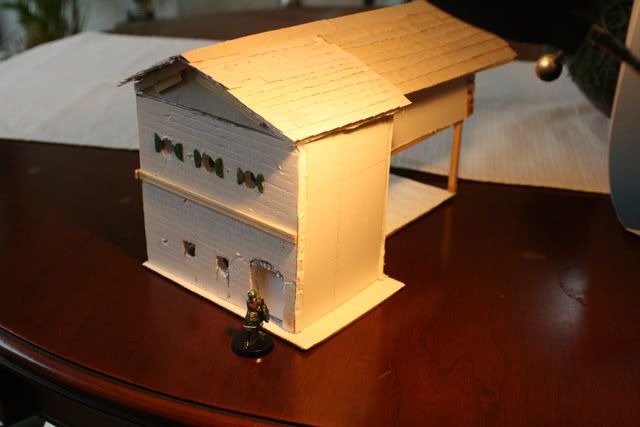
I've added a roof and a few walls to the tavern.
Image
As you can see there's still a lot to be done(gap filling, windows bricks, details etc.) but I'm quite pleased with it.

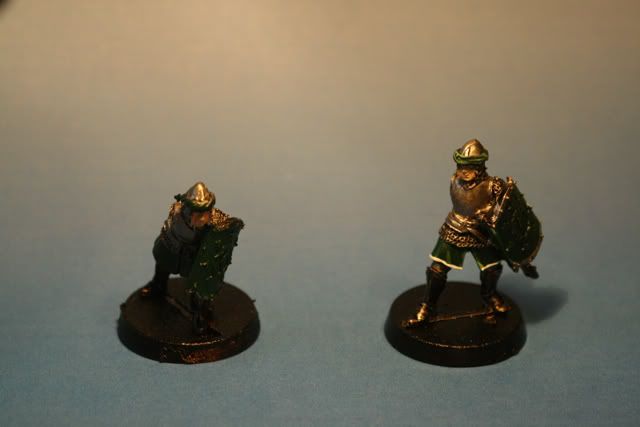
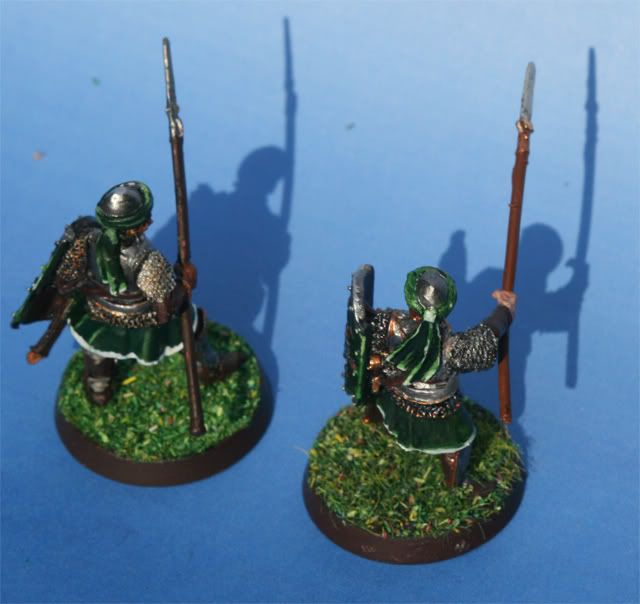
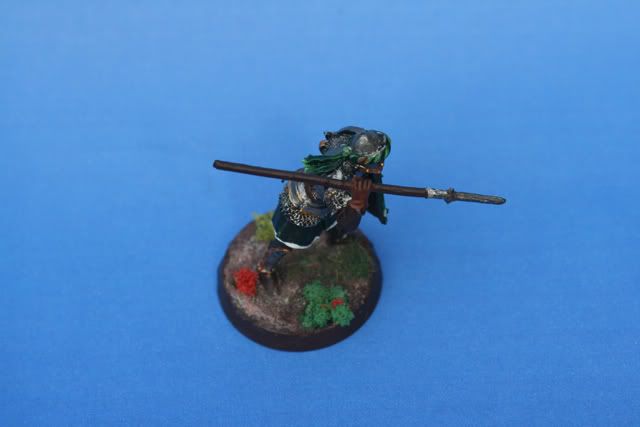
I've also started on a few warriors of arnor.
Image
It's only a small start but they are a pleasure to paint.

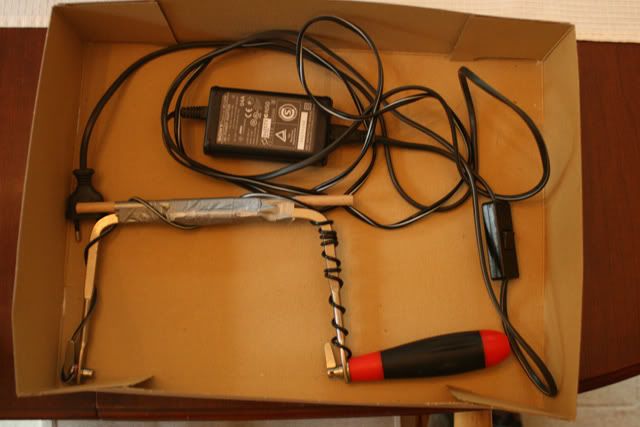
And last but not least, I've made my own hot wire cutter.
I had one that worked on batteries (is that the correct word) but it was small and you had to replace the batteries quite often.
So, I made my own out of and old saw, an adaptor some wood and tape and a switch.
The only thing I had to buy was the switch and it wasn't necessary, just a lot easier to use.
for anyone interested in building one, try this link http://www.terragenesis.co.uk/infopages/page171.html it really helped me. (the entire site is worth it to take look at) 8)
Image

C&C are most welcome

_________________
“People often claim to hunger for truth, but seldom like the taste when it's served up.”
My wip
Top
  Profile  
Reply with quote  
 Post subject: I Like the bridge very much
PostPosted: Tue May 04, 2010 9:33 pm 
Elven Elder
Elven Elder
User avatar
Offline

Joined: Thu Apr 01, 2010 11:33 pm
Posts: 3688
Location: Atlanta GA. U.S.A.
Images: 14
I like your bridge very much. Good job on the hot wire too.Every thing on your table is coming along very nicely. I have a tip. Stand some of the foam blocks on end. It will really make a difference in the look of things.

Image

The lighting is bad but you get the effect. I added a foam back drop to the Durin's stair plain. There is a link to the plain in the construction section. My copy turned out well
.
Image

Next tip: round some of the edges on some of the foam blocks. I know you are not to that stage but it helps to think ahead.I liked looking through your post it gave me several good ideas
Thanks

_________________
"the same as a duck you must be made of wood"
Top
  Profile  
Reply with quote  
 Post subject:
PostPosted: Wed May 05, 2010 4:23 am 
Wayfarer
Wayfarer
User avatar
Offline

Joined: Thu May 17, 2007 5:23 am
Posts: 45
looking good
Top
  Profile  
Reply with quote  
 Post subject:
PostPosted: Wed May 05, 2010 6:22 am 
Elven Warrior
Elven Warrior
Offline

Joined: Sun Feb 22, 2009 4:46 pm
Posts: 881
Location: United Kingdom
Nice hot wire cutter! 8) Looking forward to the next udate on the Warriors of Arnor.

_________________
TO9G - 2010 Isengard
Top
  Profile  
Reply with quote  
 Post subject:
PostPosted: Wed May 05, 2010 2:27 pm 
Elven Warrior
Elven Warrior
User avatar
Offline

Joined: Fri Aug 28, 2009 3:46 pm
Posts: 897
Location: Hear the sinister whisper of steel on leather? The quiet footsteps? You've found me.
Wowza! You've got a heckuva terrain board in progress, awesome work so far! I love the house! :yay:

_________________
Flying is the practice of trying to crash into the ground and missing.
Top
  Profile  
Reply with quote  
 Post subject:
PostPosted: Mon May 17, 2010 6:17 pm 
Craftsman
Craftsman
User avatar
Offline

Joined: Sat Nov 01, 2008 3:10 pm
Posts: 490
Location: Opende,Groningen,Netherlands
Images: 4
Thanks for the comments. :D

@ old man willow: I'll certainly keep your tips in mind. 8)

The last couple of weeks I've worked a lot on terrain and minis but most of it is for the awards and an article I'm planning, so you'll have to wait a couple of months for that.

however, last weekend ik worked a bit on the walls of the terrain board, I've finished a few dwarfs and undercoated the rest of them.

here are the pictures.
Image
Image
Image
And here are the dwarfs
Image
Image
(note to myself, I have to make decent pictures of the dwarfs for an article in the supplement)

I hope you like them.

C&C are most welcome.

_________________
“People often claim to hunger for truth, but seldom like the taste when it's served up.”
My wip
Top
  Profile  
Reply with quote  
 Post subject:
PostPosted: Mon May 24, 2010 9:52 am 
Craftsman
Craftsman
User avatar
Offline

Joined: Mon Aug 31, 2009 10:27 am
Posts: 446
Location: Chiang Mai, Thailand
Images: 2
The wall looks very nice. I like the worn appearance and the wooden beams. How did you add the weathering?
The house is also very nice and I love the green on the warriors of arnor. The white trim was a very good idea, it makes the whole piece look a lot neater and more professional. Keep up your work, I'll be looking forwards to seeing your work in the awards.

_________________
“But God demonstrates his own love for us in this: While we were still sinners, Christ died for us.” -Romans 5:8
Top
  Profile  
Reply with quote  
 Post subject:
PostPosted: Wed May 26, 2010 2:43 pm 
Elven Warrior
Elven Warrior
Offline

Joined: Sun Feb 22, 2009 4:46 pm
Posts: 881
Location: United Kingdom
The terrain is looking good! 8)

_________________
TO9G - 2010 Isengard
Top
  Profile  
Reply with quote  
 Post subject:
PostPosted: Sat Jul 10, 2010 6:58 pm 
Craftsman
Craftsman
User avatar
Offline

Joined: Sat Nov 01, 2008 3:10 pm
Posts: 490
Location: Opende,Groningen,Netherlands
Images: 4
Wow, one more week and it would have been two months without and update.
But as this is my own wip, I think I'm allowed to use my threadnomancing skills. :twisted:

Thanks for the coments.

@ dloel the weathered effect is very simple, just smear out a layer of wall filler.
I'll make an article someday in which this is also discribed.

At the moment it's very hot down here but I've done a bit of work on the Tharbad board and I've finished two arnor warriors (and I've done some work on my dwarfs but not enough for some pictures)

I got wallpaper for my birthday as a surface for the board so one of the two sides has it's wallpaper glued in place now.
Image

Image
I asked for "tegelmotief" tiles walpaper but all the way throughout the family this changed into bubbelmotief
so that's why the streets of my city are carved out of one piece of stone instead of thousands of bricks. :lol:

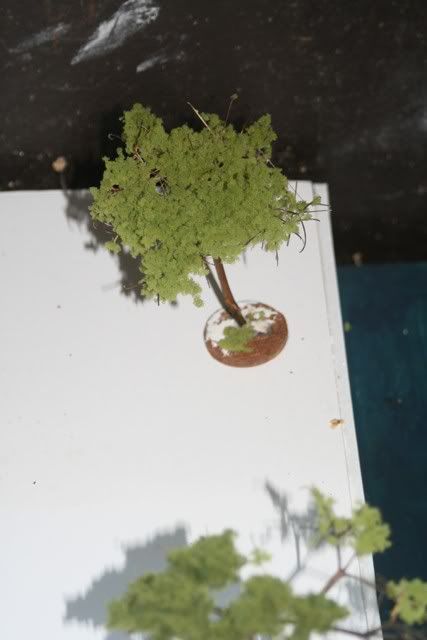
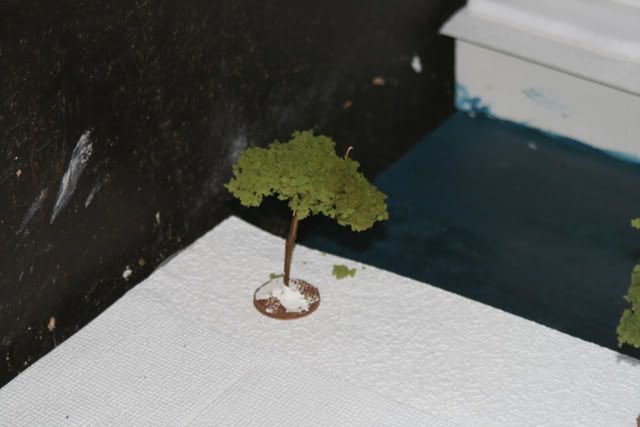
And I bought the wrong bag of foilage so this is the average cover on a tree atm.
Image
(still need to figure out how to make it better before the awards) :o
And this is my best test piece but the foilage doesn't sticks well on the tree yet.
Image

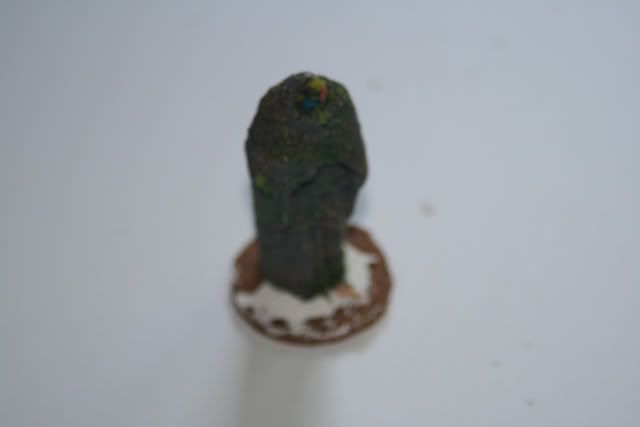
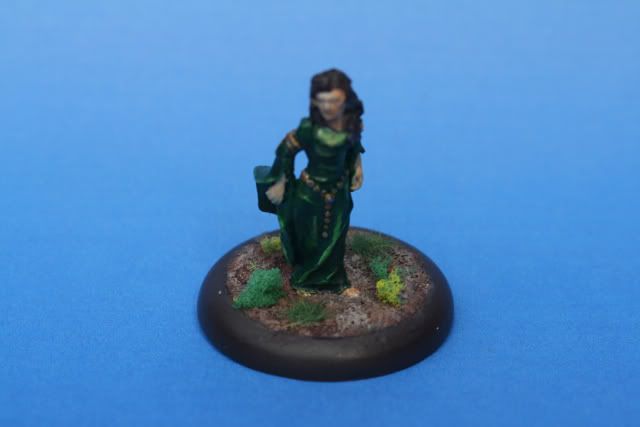
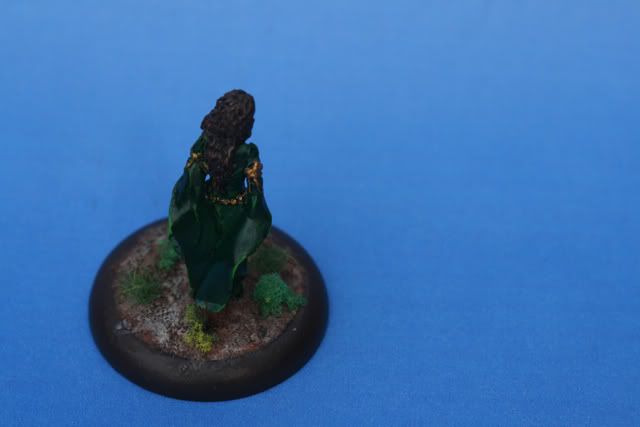
I also wanted a few statues in the city so I picked these up after chrismas.
And changed them a bit
Image
He still needs to be based properly
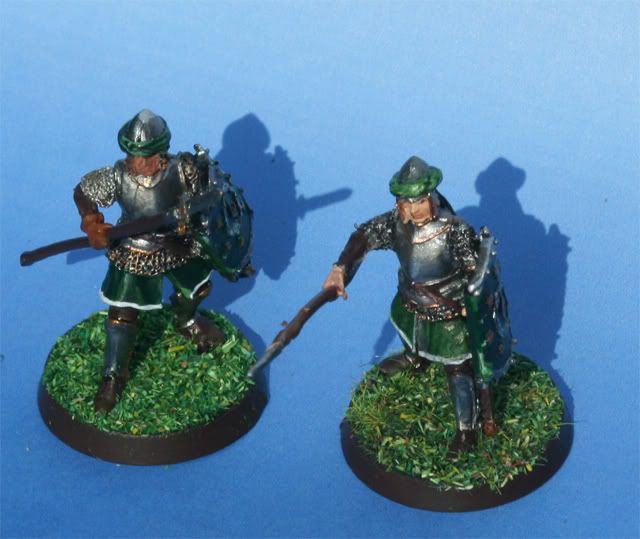
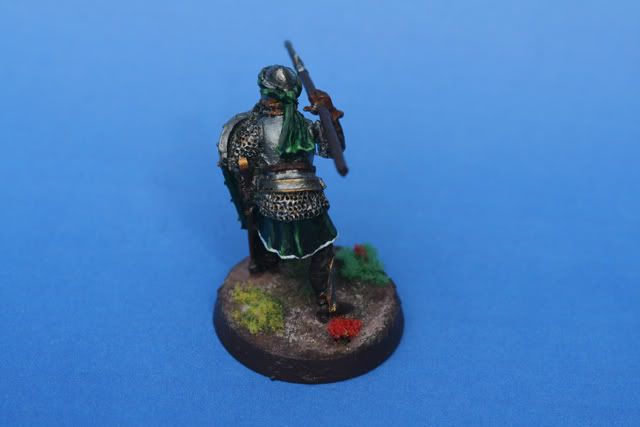
And last but not least the warriors of Arnor.
Image

Image

Image

Perhaps I'll do some touch ups on the left one but I'm very pleased that I can paint once more (my hands where shaking to much last month.)

C&C are most welcome

_________________
“People often claim to hunger for truth, but seldom like the taste when it's served up.”
My wip


Last edited by aqan on Sun Jul 11, 2010 8:26 am, edited 1 time in total.
Top
  Profile  
Reply with quote  
 Post subject:
PostPosted: Sat Jul 10, 2010 7:15 pm 
Loremaster
Loremaster
User avatar
Offline

Joined: Sat Sep 19, 2009 8:57 am
Posts: 1223
ooo very nice! I've been awaiting this update, I must say I love your Osgiliath - even if it is the beginning. Seeing other people's work is always inspiring. Good use of the wallpaper, never though of that idea & I may use it in the future as well. It's a pity the tree foliage doesn't stick great, but the second picture with it looks good. Super glue maybe? or would that eat the foliage?
Your Arnor men are coming on well, but I think working on the bases would go far.
Top
  Profile  
Reply with quote  
 Post subject:
PostPosted: Sun Jul 11, 2010 6:04 pm 
Craftsman
Craftsman
User avatar
Offline

Joined: Sat Nov 01, 2008 3:10 pm
Posts: 490
Location: Opende,Groningen,Netherlands
Images: 4
Thanks for the comment drum

I've tried to improve my basing and this is what I came up with.
Image

Image
The paintjob is not the best but this was done some time ago.
tell me what you think about the base.

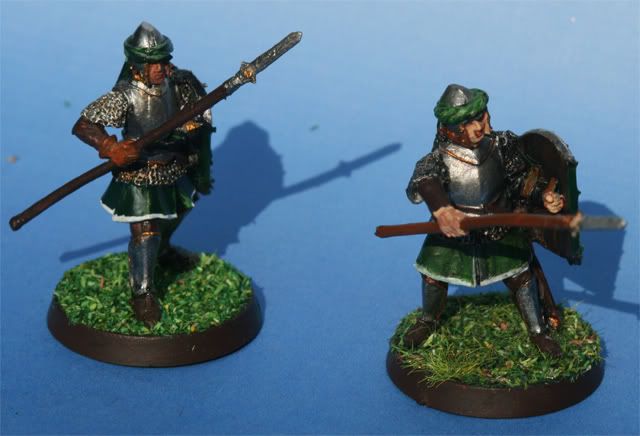
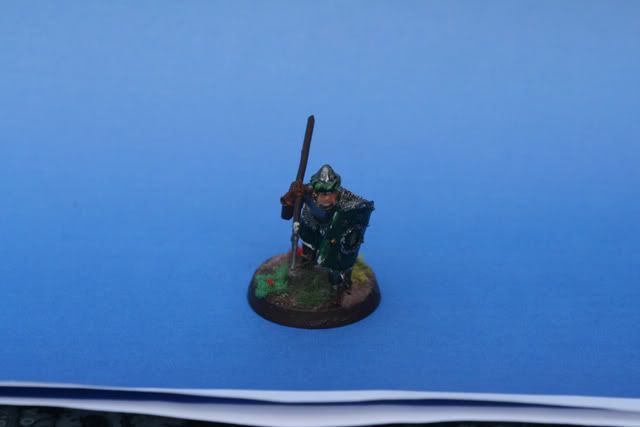
I've also finshed the last warrior of Arnor

Image

Image

Image

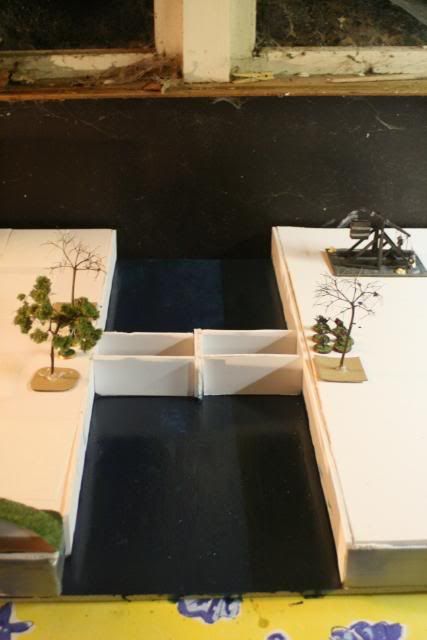
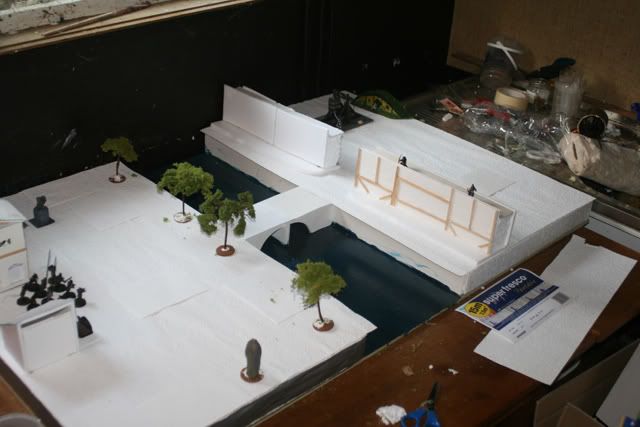
And I've worked a bit further on the board.
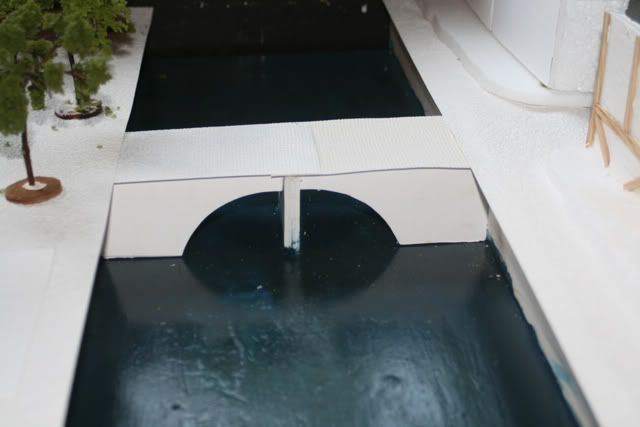
The other side now also has it's wallpaper in place, and the trees and brige are a bit further.
Image

Image

This is the pathetick three I showed you yesterday.
Image
It now looks a bit better but the foilage still doesn't sticks aswell as I would like.

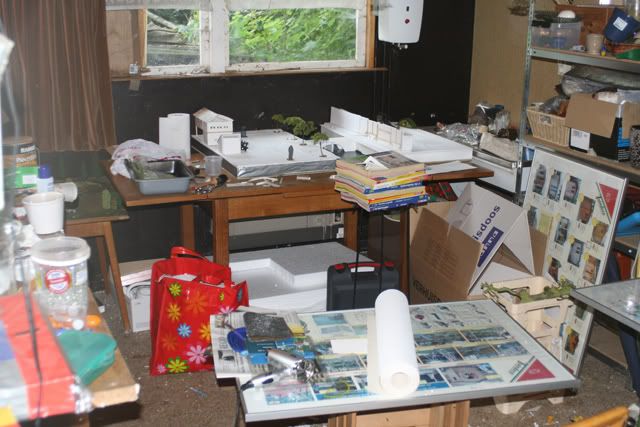
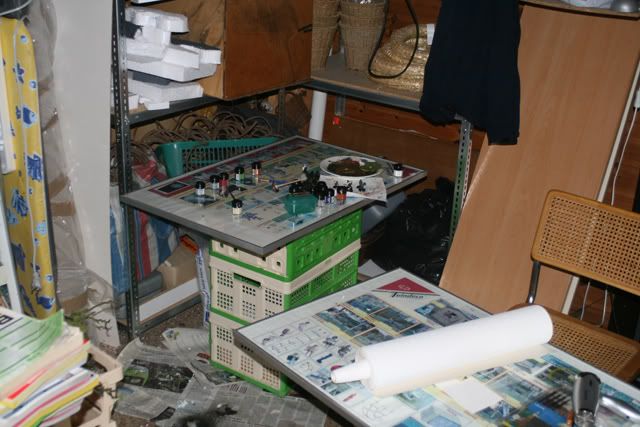
And perhaps I should start cleaning this mess up. :oops: :oops:
Image

Image

Perhaps I'll also start on the second trebuchet.

Comments and critism are most welcome.

_________________
“People often claim to hunger for truth, but seldom like the taste when it's served up.”
My wip
Top
  Profile  
Reply with quote  
 Post subject:
PostPosted: Sun Jul 11, 2010 6:17 pm 
Loremaster
Loremaster
User avatar
Offline

Joined: Sat Sep 19, 2009 8:57 am
Posts: 1223
Very good, it's coming on well. The wallpaper adds good texture to the board. I think your tree's look pretty good, I like them. Cute little bridge also, a great place to control the two sides of the map.
Your bases have Improved a lot, looking great 8)

Well, a workshop is a workshop :-D

I've also tried painting the Arnor figures, I found them rather hard - but you've made a good job of them.

Drum
Top
  Profile  
Reply with quote  
 Post subject:
PostPosted: Mon Jul 12, 2010 6:58 am 
Craftsman
Craftsman
User avatar
Offline

Joined: Mon Aug 31, 2009 10:27 am
Posts: 446
Location: Chiang Mai, Thailand
Images: 2
Your new bases look very nice. A wash could make them look a bit smoother but they're still very good.
Good to see some progress on the board. If you wanted the wallpaper to look more like cobblestone you could gouging it with a chisel or one of those wood carving tool.

_________________
“But God demonstrates his own love for us in this: While we were still sinners, Christ died for us.” -Romans 5:8
Top
  Profile  
Reply with quote  
 Post subject: the foliage doesn't sticks as well as anyone would like.
PostPosted: Mon Jul 12, 2010 10:21 am 
Elven Elder
Elven Elder
User avatar
Offline

Joined: Thu Apr 01, 2010 11:33 pm
Posts: 3688
Location: Atlanta GA. U.S.A.
Images: 14
Quote:
It now looks a bit better but the foliage still doesn't sticks as well as I would like.

The foliage doesn't sticks as well as anyone would like. This is not a big problem for model railroads because they do not handle the trees after they are built. I have found they must be over sprayed with Matt medium or some other kind of glue. Try some cheap hair spray. The stiff hair styles are way out of style. But, it is still out there. If you can not find any, clear spray paint will work. Test a small piece first. There is a clear possibility that some brands of paint will frost the foliage. Of course, there is no danger of this with the hair spray.Commercial spray adhesives are not intended for this application some will remain tacky seems likely forever.

Quote:
The wallpaper adds good texture to the board.


Add a little sand and some a little saw dust to the wall paper to give it a little more texture when you dry brush it. A very little goes a long way.If you want to give the impression of a ruin use a lot.

I am looking forward to your future post
Good work

_________________
"the same as a duck you must be made of wood"
Top
  Profile  
Reply with quote  
 Post subject:
PostPosted: Wed Jul 14, 2010 9:06 am 
Craftsman
Craftsman
User avatar
Offline

Joined: Sat Nov 01, 2008 3:10 pm
Posts: 490
Location: Opende,Groningen,Netherlands
Images: 4
thanks for the comments.

@ Old man willow: It's quite funny that you give the advice of using hairspray because that's exactly the method I use now.
first I spray/flock them several times, than I hang them upside down and glue the foilage with woodglue to the branches, then a few more coates of hairspray.
And thanks for the sand idea on the board. :)
I've done that in the past but I would have completly forgotten it and I will do the same thing on the big moria board. (wallpaper and sand+paint)

@ dloel: perhaps I'll try another wash when I have a bit coarser sand.
this sand is to fine for than and all the detail could go with more than two washes.

@ Drumastic:
Quote:
Well, a workshop is a workshop :-D

I think my mother would disagree with you :lol: :wink: .

I've nearly finshed my second trebuchet so, expect an update soon

_________________
“People often claim to hunger for truth, but seldom like the taste when it's served up.”
My wip
Top
  Profile  
Reply with quote  
Display posts from previous:  Sort by  
Post new topic Reply to topic  [ 180 posts ]  Go to page Previous  1, 2, 3, 4, 5, 6 ... 9  Next

All times are UTC


Who is online

Users browsing this forum: No registered users and 355 guests


You cannot post new topics in this forum
You cannot reply to topics in this forum
You cannot edit your posts in this forum
You cannot delete your posts in this forum
You cannot post attachments in this forum

Search for:
Jump to: