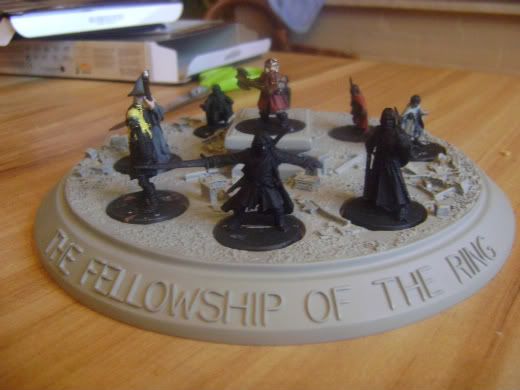
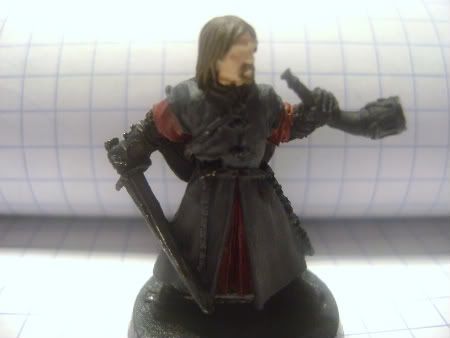
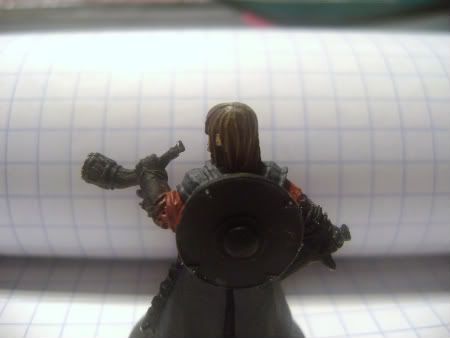
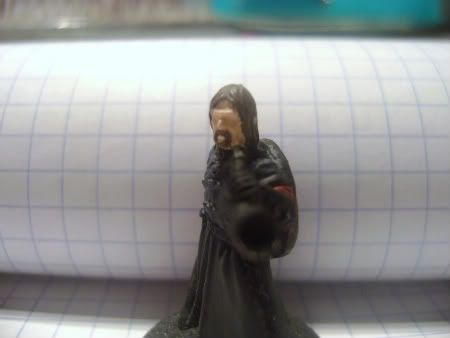
So here it is, the article of how to create Moria doors!
Materials you'll be needing:
- thin cardboard
- pencil or something equal
- ruler (the triangle one, don't know what it's called in English :p)
- PVA glue
- toothpicks (again I don't know if this is correct in English but I think you know what I mean)
- a brush (for the PVA glue)
- and if you got it the plastic door from the moria box to make it faster
So there are 3 levels of the door, this one won't have doors really, it's just a doorway as you could have seen on my pictures. I do have an idea for the doors but I have to try it out.. so :p
If you could have read you could use the moria plastic door from the boxed set. If you don't own it, no problem, I'll explain how you could make it look like it, it just takes a little longer. I used a kinds of colours so you know wich side and such I mean, it might be a little confusing but just read carefully and watch the pictures and you'll be ok.
Level number 1:for this you can draw the outhern walls of the plastic door on a piece of cardboard, only those at the outside, or else it won't work. If you don't have it here's another (but longer) way. The best way of drawing the levels is by drawing it in a corner of the cardboard, this way you know it's 90°.
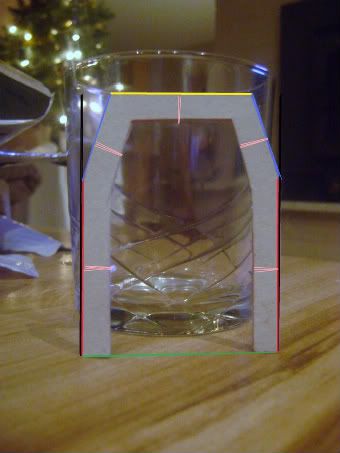
To start with, there are 2 main colours to folow, these will be the vertical
black line (wich is 7,0 cm) and the horizontal
green line (wich is 5,5 cm).
once you got this, we'll start with the sides, the
red lines, these are both 4,5 cm. draw these at both sides.
the
blue sides, leading to the top are 105° so get your ruler and draw these at both sides again. ons you did this, you top side wich is
yellow on the picture should be around 4,0 cm long. That's all, now, you might wonder what the
pink lines are, right? well, these are 0,7 cm and you have to draw it to on every side so you can connect them, and once you've done that, you can cut it out and move to the next level.
Note: you'll have to make level 1 twice. Don't forget to glue the pieces together!
Level number 2:For the next level you'll make both level 2 and a little of level 3 actually, keep reading to find out why.
So, just like you did with level 1, it's best to take a corner to draw it in.
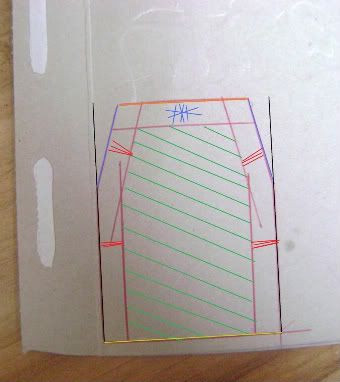
Again, start with the
black line and this time the horizontal line is
yellow, my apologies for this.
The
black line is 6,5 cm and the
yellow line is about 5,1 or 5,2 cm just make sure it isn't 5,5 cm.
I forgot to draw the line untill where it's
purple but I'll tell you that it's 4,0 cm long. The
purple sides are about 110°. Your top
orange side is about 4,0 cm, it depends on how long you made the
yellow side.
As you can see on the picture are the
red and
blue line not equal since they aren't the same colour. This is correct and it's not a mistake I made or something, the
red lines are 0,7 cm and the top
blue side is 0,8 cm long.
The piece coloured
green is very important, since it's your level 3. Oh well, it will become level 3. So cut it out carefully.
Note: you'll have to make level 2 three times. If you've done this, glue the 3 pieces together.
Level number 3:If you cut out the
green coloured piece of level 2 you'll need to draw some things..
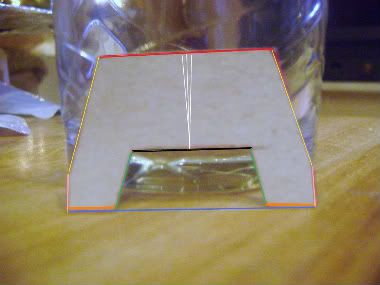
so, take the top of the piece you've just cut out and draw a horizontal line of 2,8 cm (not on picture, sorry). This will be the length of the piece and it will be 4,3 cm wide wich is
blue on the picture.
Now, start from the bottom line and messure 0,8 cm at both corners horizontal (
orange at the picture) and 0,8 cm vertical (
pink at the picture).
Now, to the top (
red), take the middle and draw a line wich is 90° with the top and draw it till you come to the bottom (
blue). The line is white at the picture.
now, your top should be about 3,0 cm, so go back to the middle and draw 1,5 cm at both sides, once you've done this, connect the top (
red) with the
pink sides wich are 0,8 cm. It's almost finished now!
Go back to your bottom lines, those of 0,8 cm (
orange) and draw a line of 90° at both sides wich is 1,0 cm (not on picture). connect the two sides and messure a line of 2 cm on your middle line (white) wich falls on the line you just connected, this will be the
black line on the picture. Where the two points of the line ends will have to be connected with the
orange lines of 0,8 cm at the bottom. Once you've connected these (
green lines) the 3rd level is finished. Cut it out and glue the 3 pieces together.
Now, the levels are finished, here is what they look like:

the only things left to do are glueing it together and using the toothpicks you needed.
Here is what it'll look like if you glue it together:
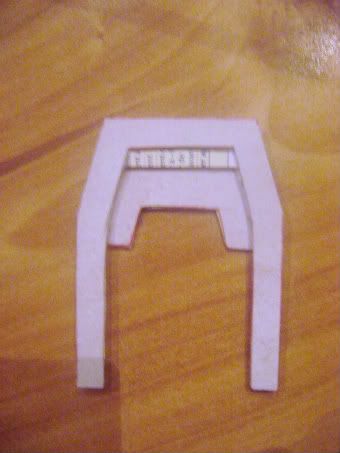
Now, at the back you'll see that there's a little bit of space left at level 2 and level 3. Level 2 reaches the bottom and level 3 doesn't. To solve this problem, messure how many cm's level 3 is hanging from the bottom. this will be between 3,5 and 4,0 cm usually. Once you know the difference, messure the length off on a toothpick and cut the pointy edges of. Now glue the toothpicks (or what's left) to the doorway and.. you've finished everything! (.. except painting but that's up to you).
This is how the back will look like:
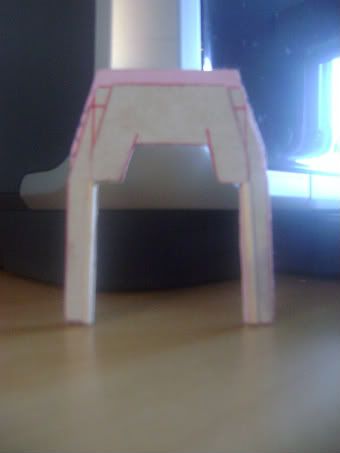
hope you enjoyed reading and creating it! Dwarves, gobs, elves, humans etc. can pass through the door with no problems, cave trolls etc. won't fit.. if you want them to fit, just do the same, but take another scale so they can move through it.
Kind regards,
Jorn (Eaothen the Brave).
 Top
Top Top
Top Top
Top Top
Top Top
Top Top
Top Top
Top Top
Top Top
Top Top
Top Top
Top Top
Top Top
Top Top
Top Top
Top Top
Top Top
Top Top
Top Top
Top Top
Top


 Im a procrastinator


 I'll upload some pictures probably tomorrow evening or somewhere in the weekend. But, this week.
 I gave one the pose of throwing a stone, but he's not finished yet, I'll need some better glue for this. I only have plastic glue ATM
  I'll upload some pictures of them aswell. I also bought a box of WOR (warriors of Rohan).
 )
)