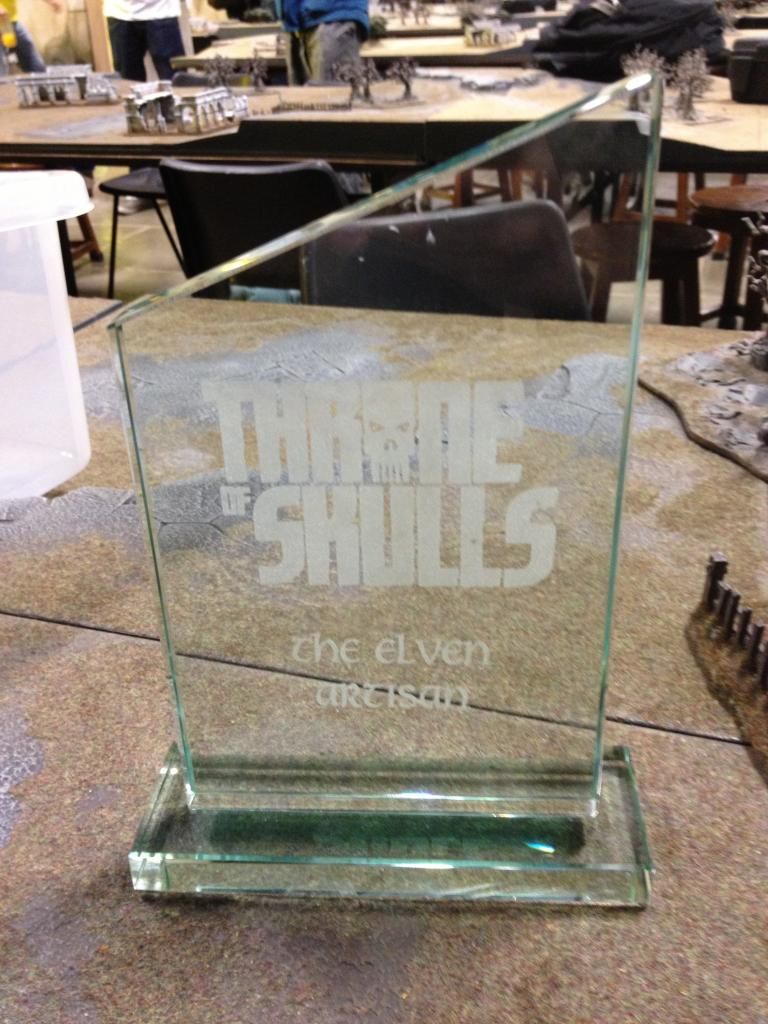
Ooooooooooooh I'm an Elven Loremaster - how exciting!

Thanks so much for all the supportive comments everyone, very much appreciated, hope you enjoy part 2!
Gandlaf the Grey wrote:
Nice original touches like the shakers have really made this work.
Sorry Gandlaf not sure what you mean? Shakers? Is that a typo?!?! Cheers for the kind words though!
@Sithious - Hah, loved the Best Man comparison! Certainly very interesting seeing the way different people work! To be fair I don't think I had the time to plan the board out! Thanks for the very kind words though, things have definitely calmed down now and I'm enjoying my hobby again!

So, without further ado...
Display Board Behind the Scenes Part 2 - The Trees
Ok, so the next stage I’ll look at is the production of the trees. I decided early on that I’d use Citadel woods for my trees, I think these work well for LOTR and the trunks are almost perfect representations of the Mirkwood boughs in the movie.
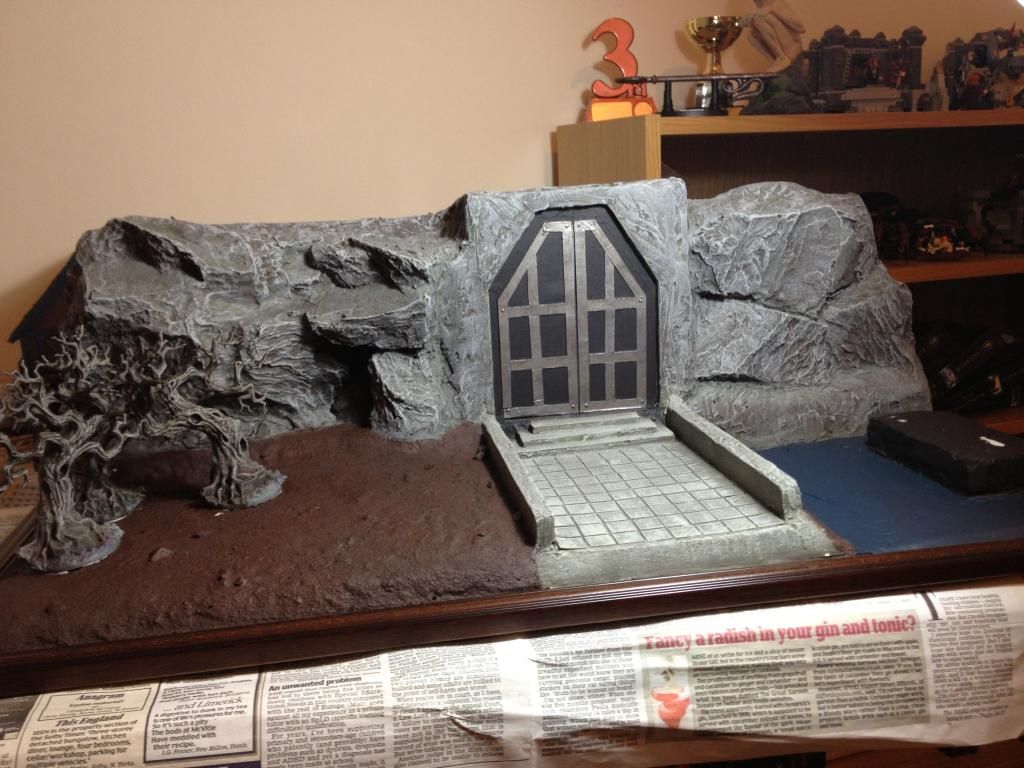
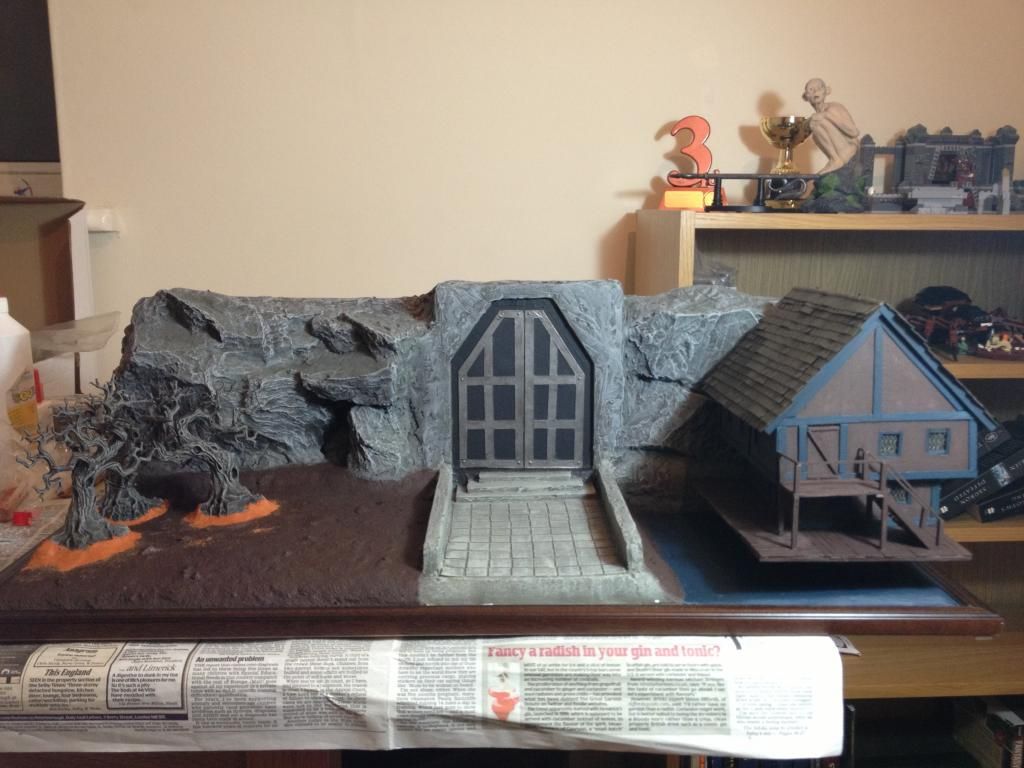
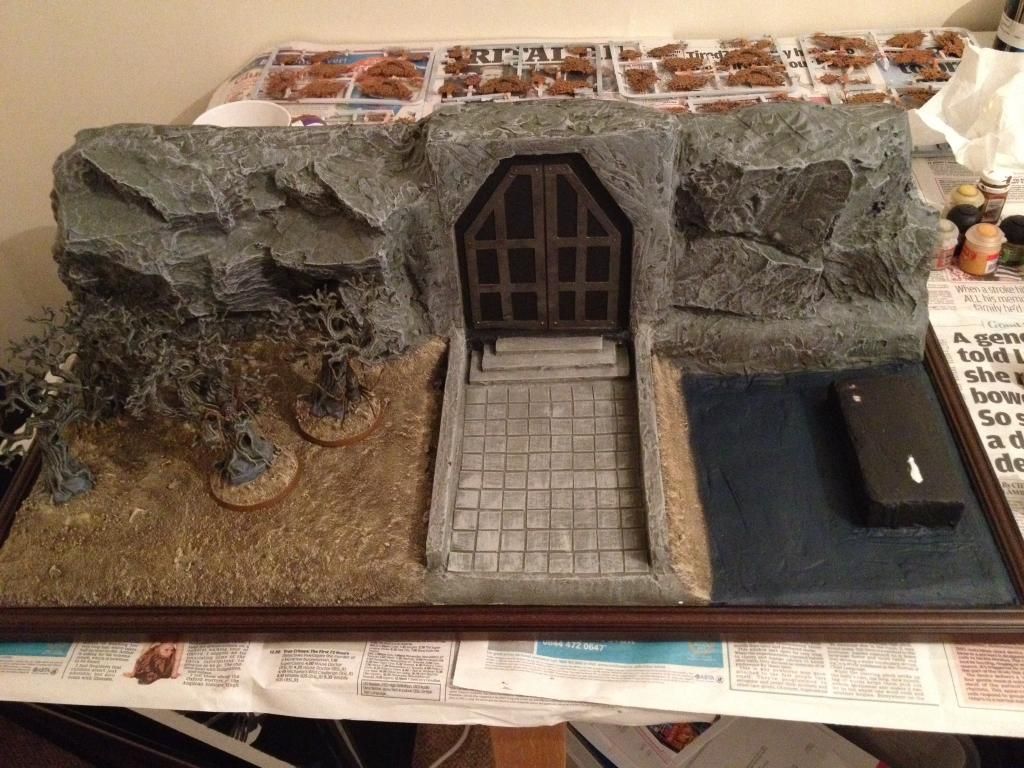
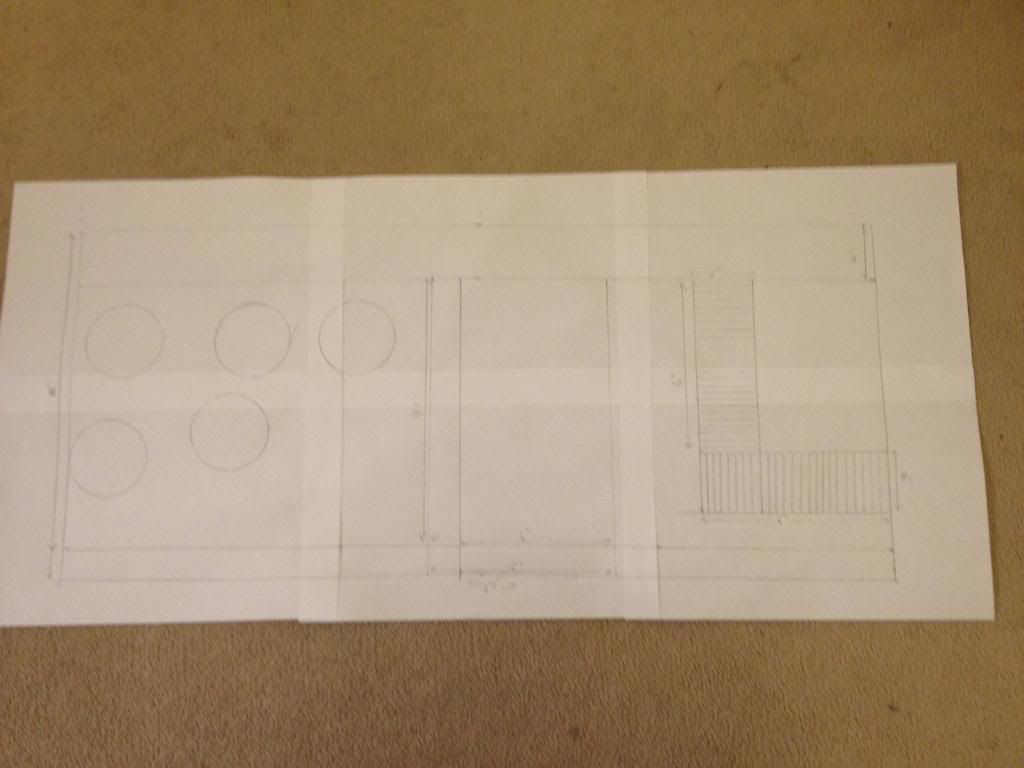
As mentioned I’d worked out that I could fit five trees in total onto my board, as shown on the plan in the previous post. Three of these would be fixed to the board but I had bigger plans for the other two. One of the unique and fun aspects of Throne of Skulls was that on the Sunday we’d be playing the Mirkwood scenarios and both Good and Evil armies could get Mirkwood Spiders to aid them in their games if they rolled for spider infested woods. This means that there was a strong incentive to have some Mirkwood Spiders with you which, given my theme, was no problem at all!
Some of you may remember my eagles I painted last year (page 2 of this thread if you’re curious) and that when I painted them I decided to put them in trees so that I didn’t have to rely on the plastic flying stems which I had never been a fan of. I was really happy with how they looked and decided to do the same sort of thing with my 2 Mirkwood Spiders, hopefully recreating the scene in the movie where the dwarves are attacked beneath the canopy of Mirkwood.
I managed to pick up 2 Citadel Woods for a total of £22 instead of the £36 retail price by using the discounts of some online stores (Element Games and Slayer Gaming) and some store credit at Element Games that I’d won for doing well at a recent tournament. Fairly pleased with the deal I set to work on the trees. My first job was to clean up all the mould lines.
Oh.
My.
God.
I don’t know if any of you have ever assembled a Citadel Wood but the sheer number of mould lines is soul-destroying. There is one, clear mould line that runs all along the trunk and along the edge of every tiny bend in the branches, of each and every part of the tree. I’m sure some people won’t bother to remove these if they’re just assembling them for woods on their tabletop but I’m a bit of a perfectionist with mould lines and, knowing that this was for a display board, I couldn’t let them through. I genuinely can’t stress how long this took me to do, it was a horrible experience (I HATE cleaning up mould lines) but, several hours of tedious work later the damn things were cleaned up and I started to assemble them. The next annoyance was that each tree comes in two parts and when you put them together there’s a very ugly gap left so I had to get to work with the miliput! All 5 trees had to be filled fairly substantially and then the two that were to have spiders in were glued to 60mm bases and the edge built up with more miliput.
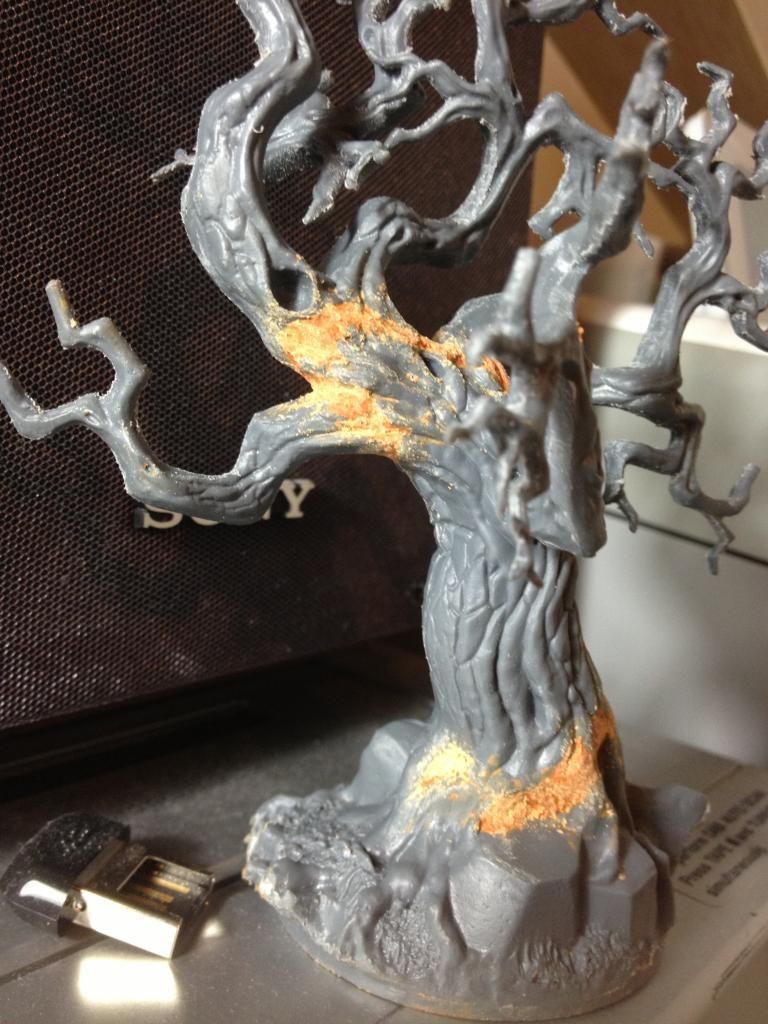
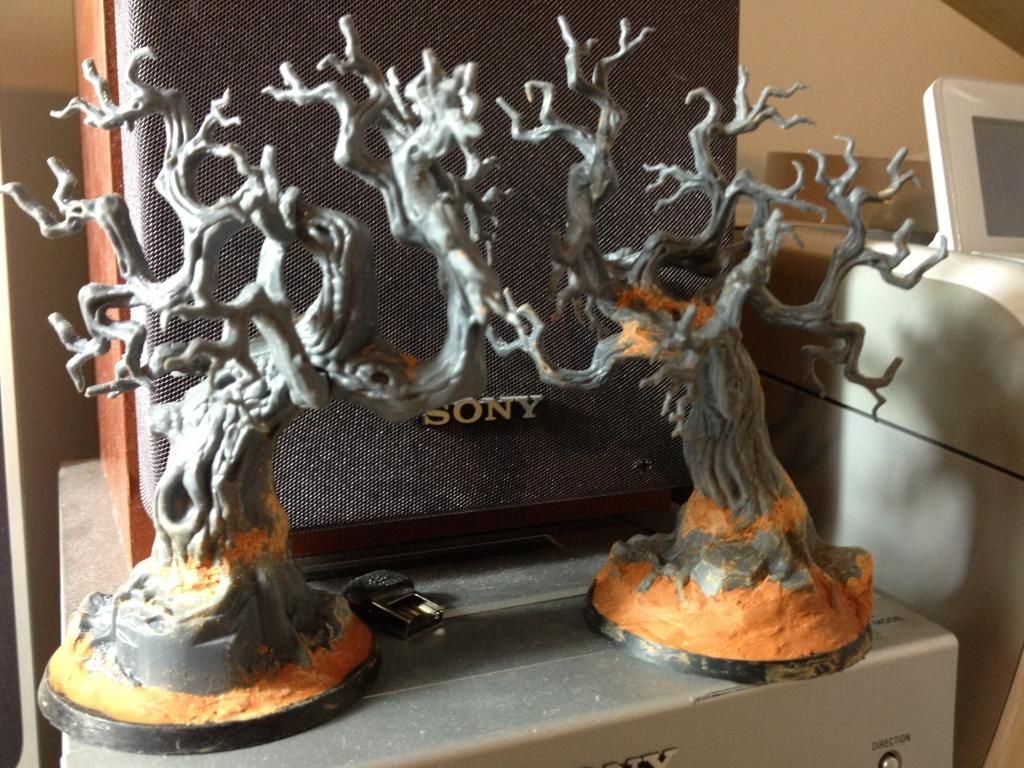
I started by working on the two trees to put the spiders in, I knew I roughly wanted one hanging down by its web and one sitting in the canopy so I started building the trees to accommodate the gribblies. Of course at this stage I needed the spiders to fit into the trees so these were quickly assembled and positioned in the trees to see how they would fit. Once I had the rough positions I then used boiling water to reshape the legs and position the spiders exactly how I wanted them. I was particularly keen to ensure that the spider sitting in the tree would have the back 6 legs balanced on branches and his body raised up, rather than taking the easy approach of just gluing the body onto the trunk of the tree. It was quite fiddly but I was eventually able to get the model looking just how I wanted it and snapped a picture of the spider’s position so I had a reference to later glue him in the tree.
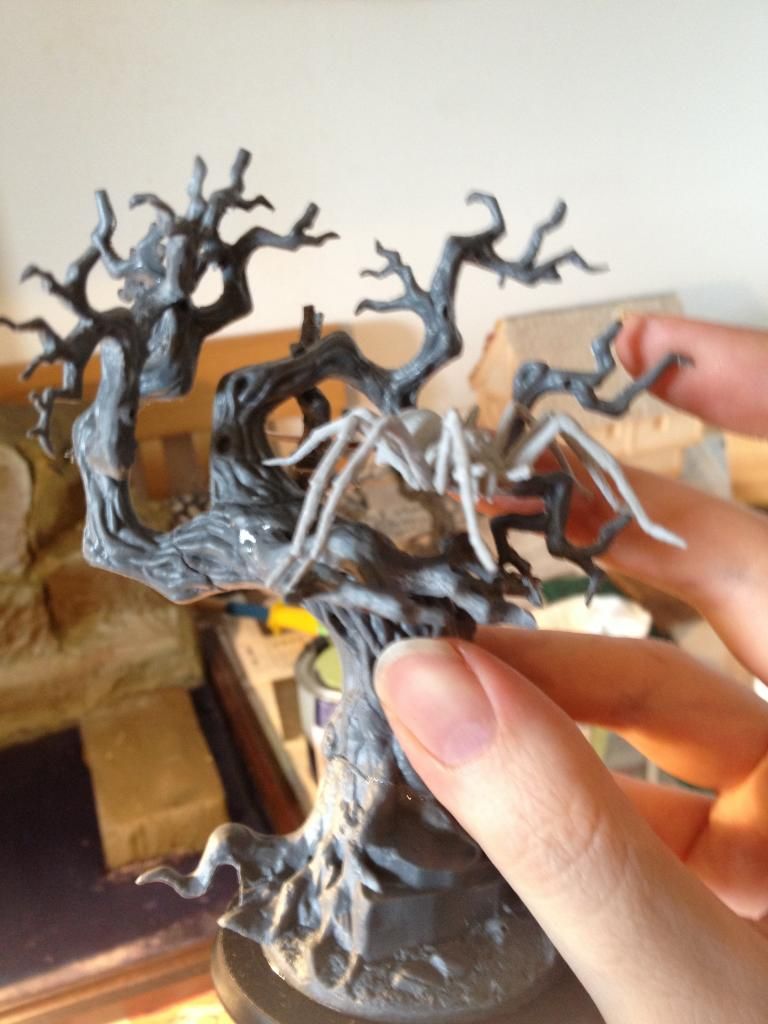
The second spider that I wanted to be hanging from its web had a brass rod drilled into its back. This served a duel purpose, not only would it form the basis of the web but it also gave me a handy tool to hold the spiders when painting them.
I next turned my attention to cleaning up the mould lines on the leaves.
Oh.
My.
God.
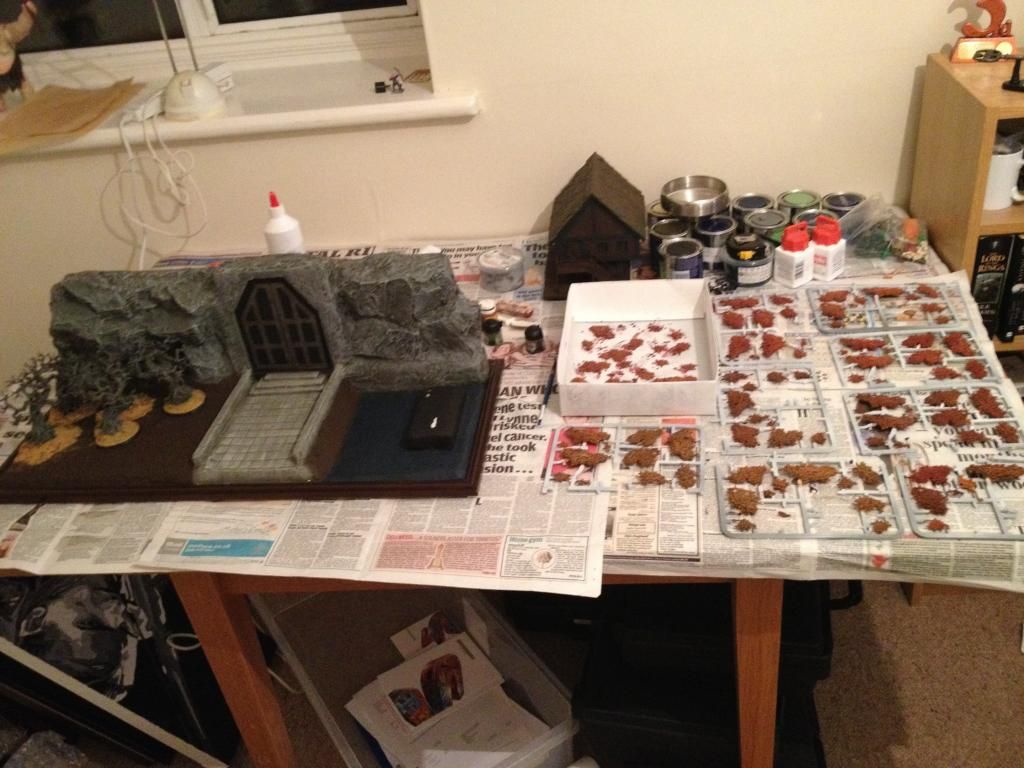
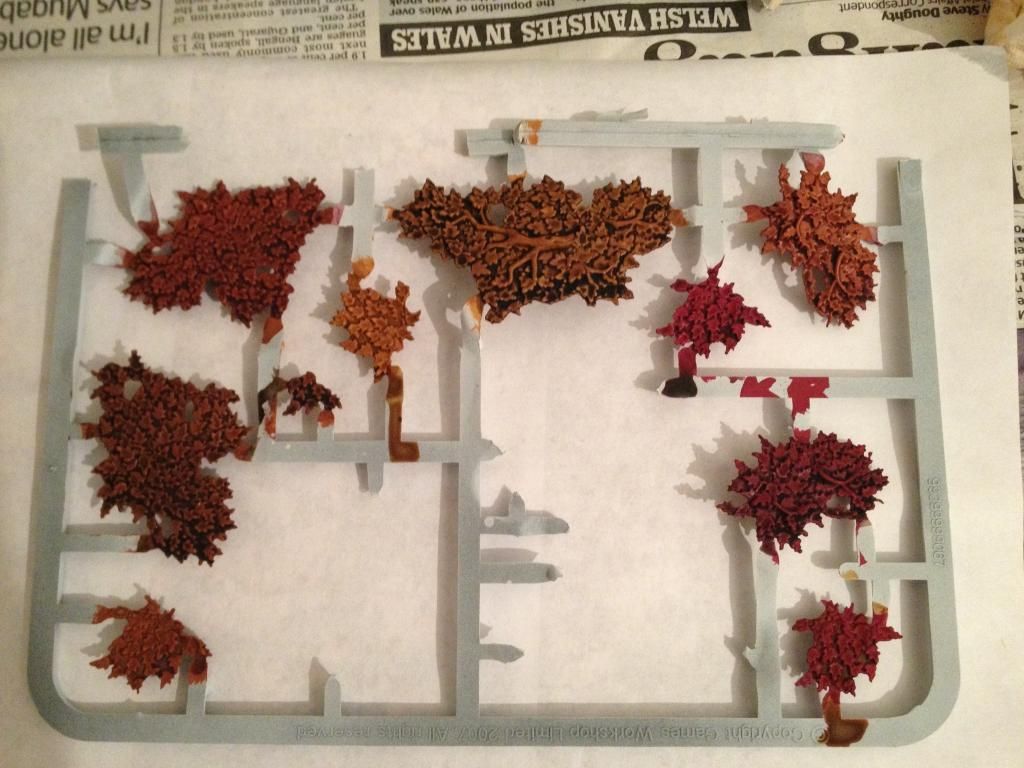
I had already decided to paint the leaves on the sprues, this seemed like the most sensible option by far. However, a close look revealed that again, there was a mould line running around the edge of each and every piece of foliage in a variety of sizes (there were about 100 pieces in total). Again, if you were purely building the wood for the tabletop then these would probably be acceptable but, given that I was making this for a display board and I hoped people would be looking at my models up close, I decided to try and get rid of as many as I could. Again, I can’t stress how tedious and frustrating this process was, it took hours and hours and hours and I hated every second of it. I’m sure I didn’t manage to remove every last bit of the mould lines but, thankfully, the leaves did look significantly better when I’d finished with them. I’m sure many people won’t see the difference or the point in spending all that time removing the mould lines but I think it’s worth putting the effort in. So, eventually, I’d cleaned up everything and assembled all the trees leaving me with this little lot (and another two sprues of leaves that aren’t here for some reason)
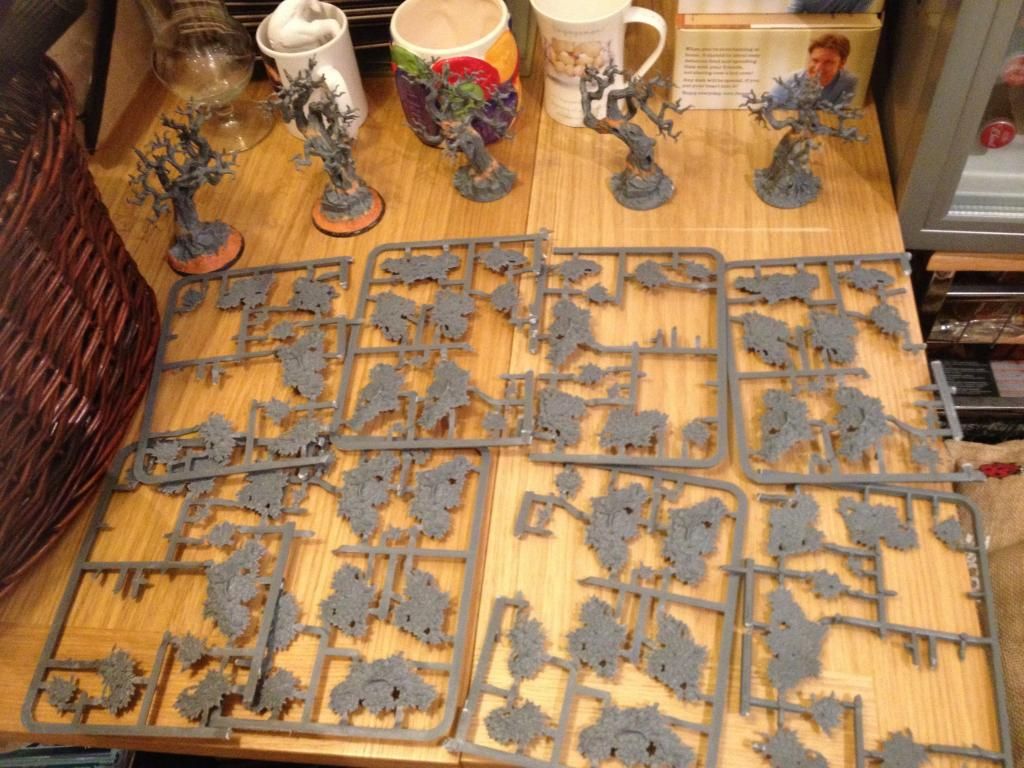
It’s also worth pointing out that I was using more leaves than are supplied in the kit, I ended up cleaning up and painting the leaves from 8 or 9 trees to go onto 5 trunks. If you only attach the leaves supplied then the trees will look rather bare, as they do on the Citadel Wood box cover, if you want them to appear fully covered then you’ll need to put on about twice as many leaves as those supplied in the kit.
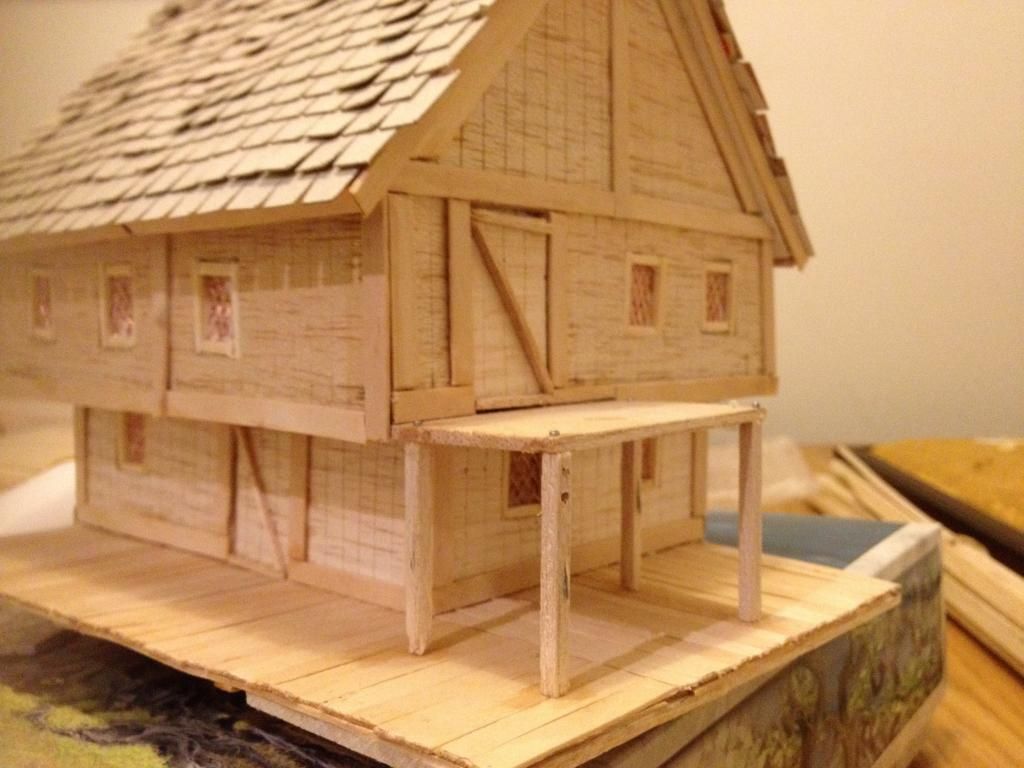
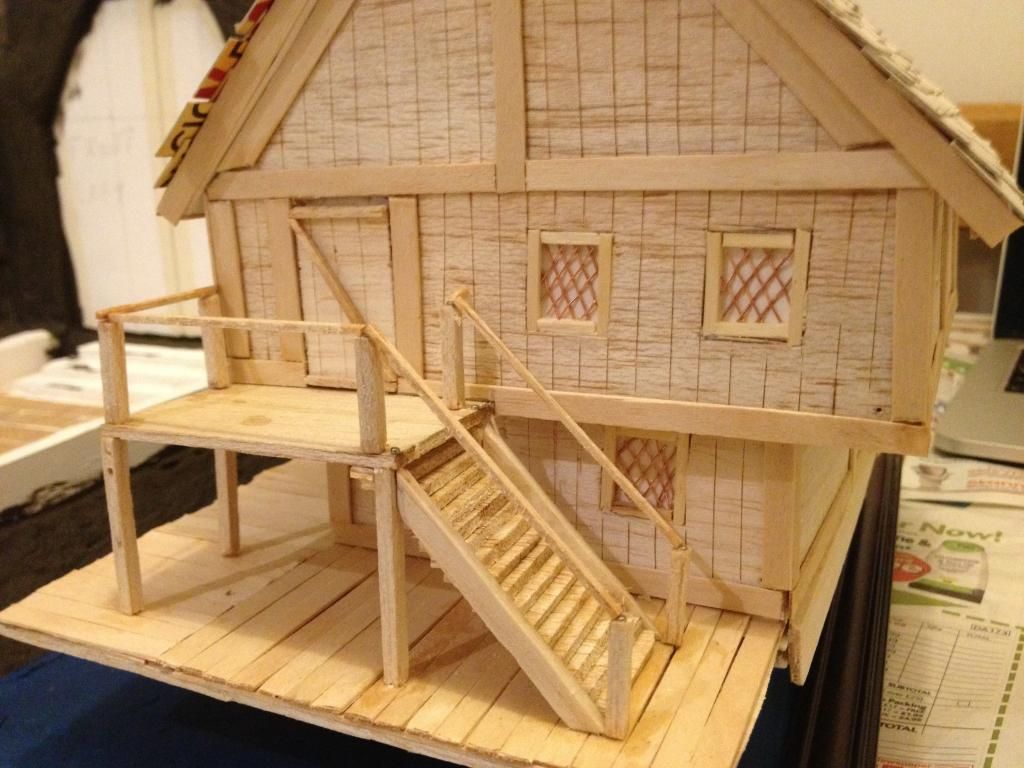
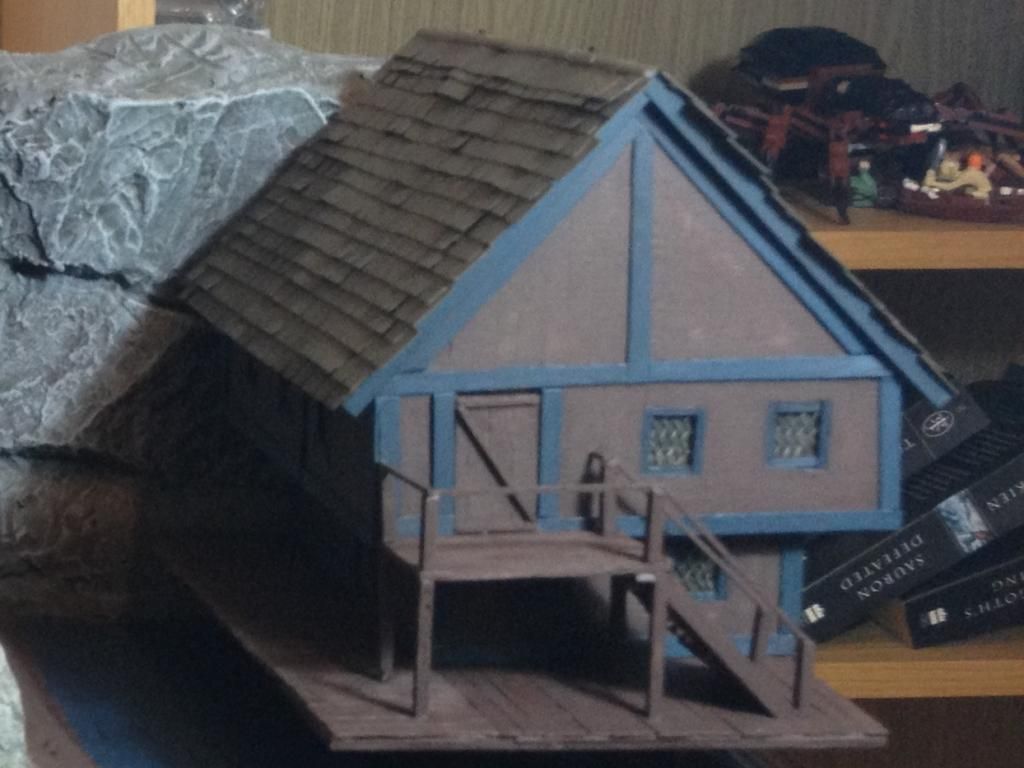
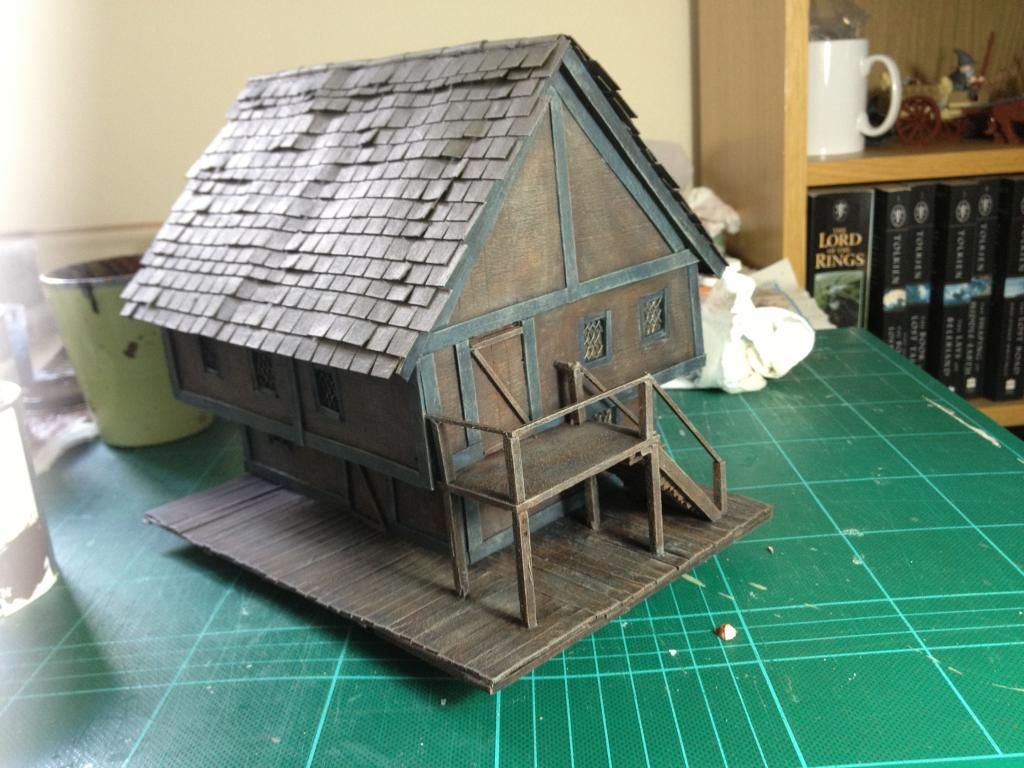
I then started painting the trunks, For the basecoats I used my Dulux tester posts again, I wouldn’t use these for most models but the plastic does take the paint well and it prevents your scenery painting costs becoming prohibitively expensive. They were base coated the same dark brown/grey as the Laketown house roof and then washed in Nuln Oil. The tree trunks of Mirkwood are equal parts vibrant and bright with lots of green and purple and dead and rotten with greys and blacks.
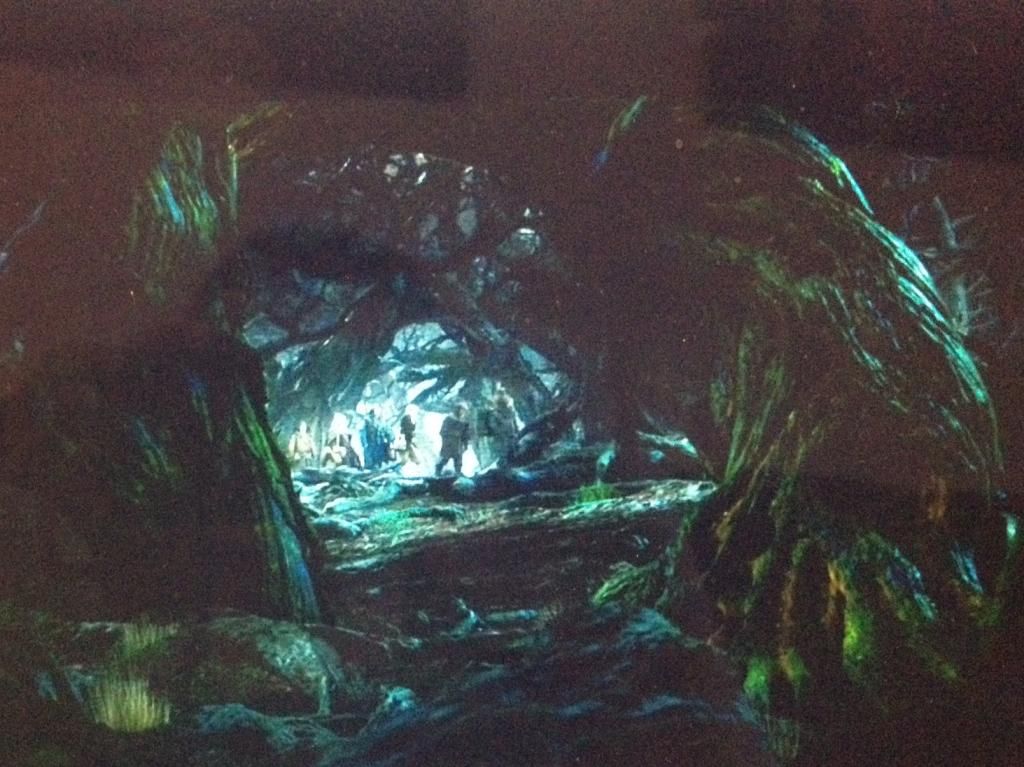
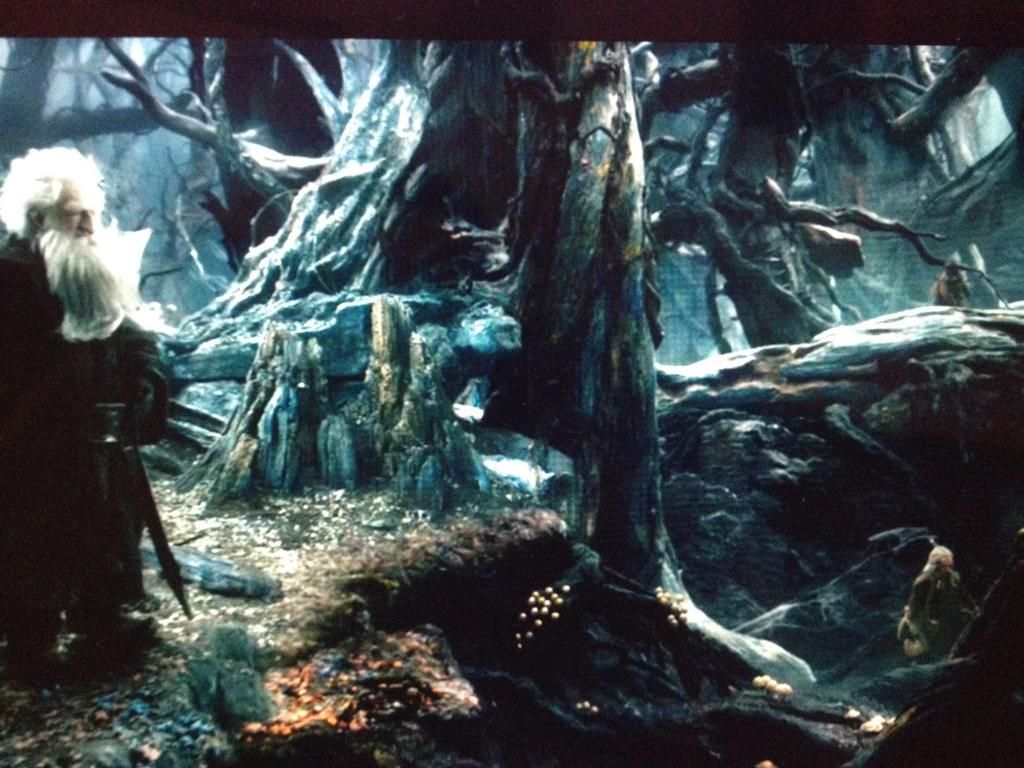
I attempted to replicate this colour scheme by first dry-brushing the trunks bright purple and bright green, this looked pretty cool but once I then dry brushed a few pale browns and greys on top most of the greens and purples were obscured. If you look closely at the trees the you can still see little glimpses of the green and purples which gives it a nice effect. However, despite most of the brighter colours being obscured, I still think it was a worthwhile process to go through as it added an extra level of depth to the colour.
Once the trunks were painted they were glued down to the display board, I needed to paint the trunks before I glued them down so I could get to every part of them without the board getting in the way. Once they were glued down I used miliput to build up the gaps at the bottom of the trees and blend them into the display base.
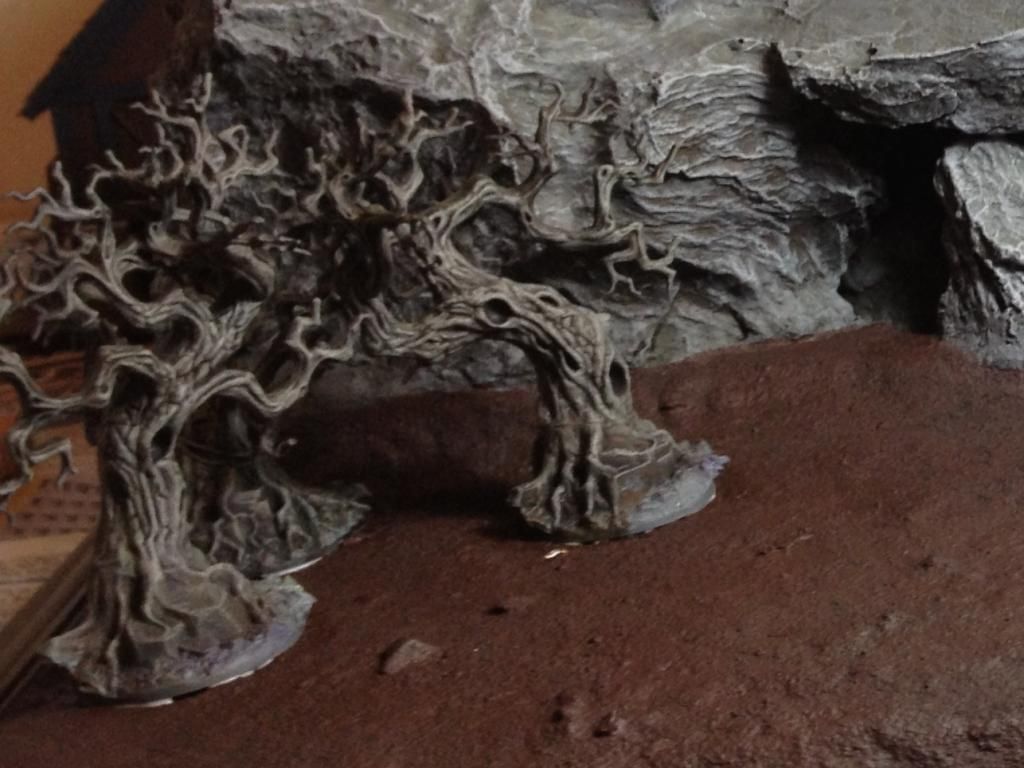
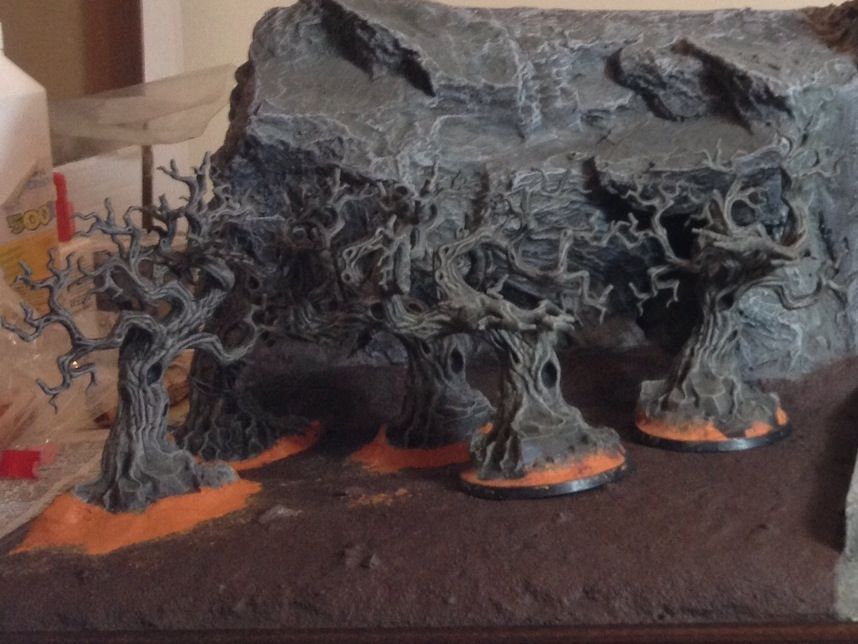
With the trunks finished I moved onto the finer details. I had painted the Mirkwood Spiders by this point and so glued these into the 2 independent trees. One was glued onto the branches as planned whilst the other (with the brass rod web) was fixed in place by drilling into one of the branches and then covering the brass rod in liquid greenstuff to simulate the web.
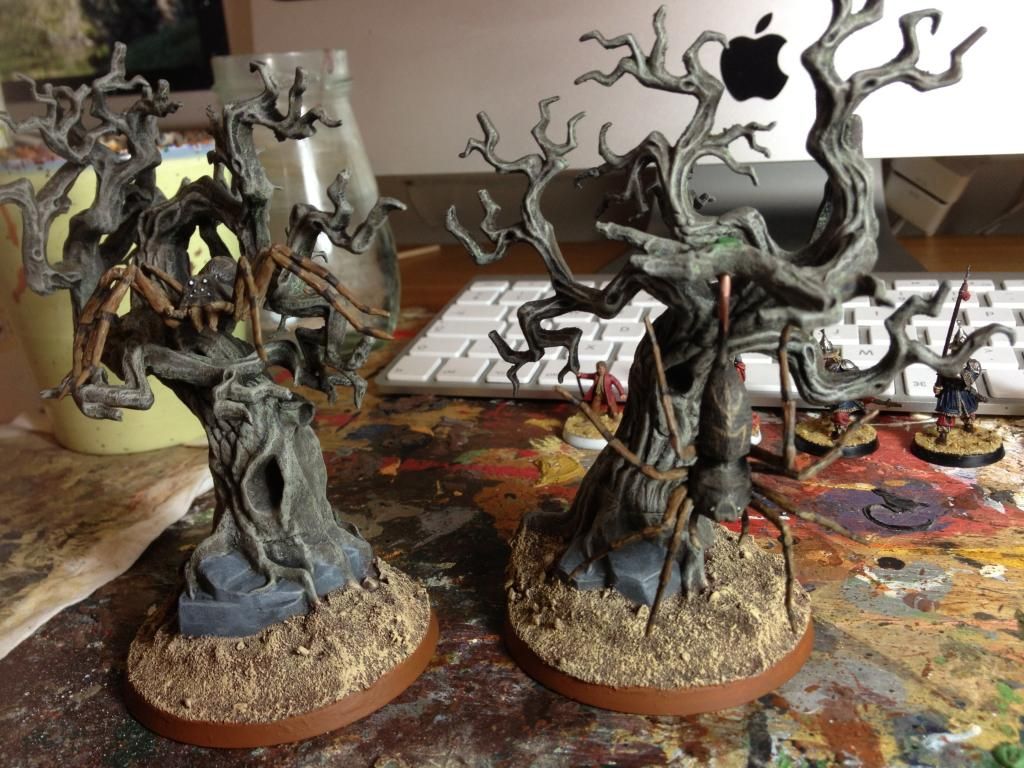
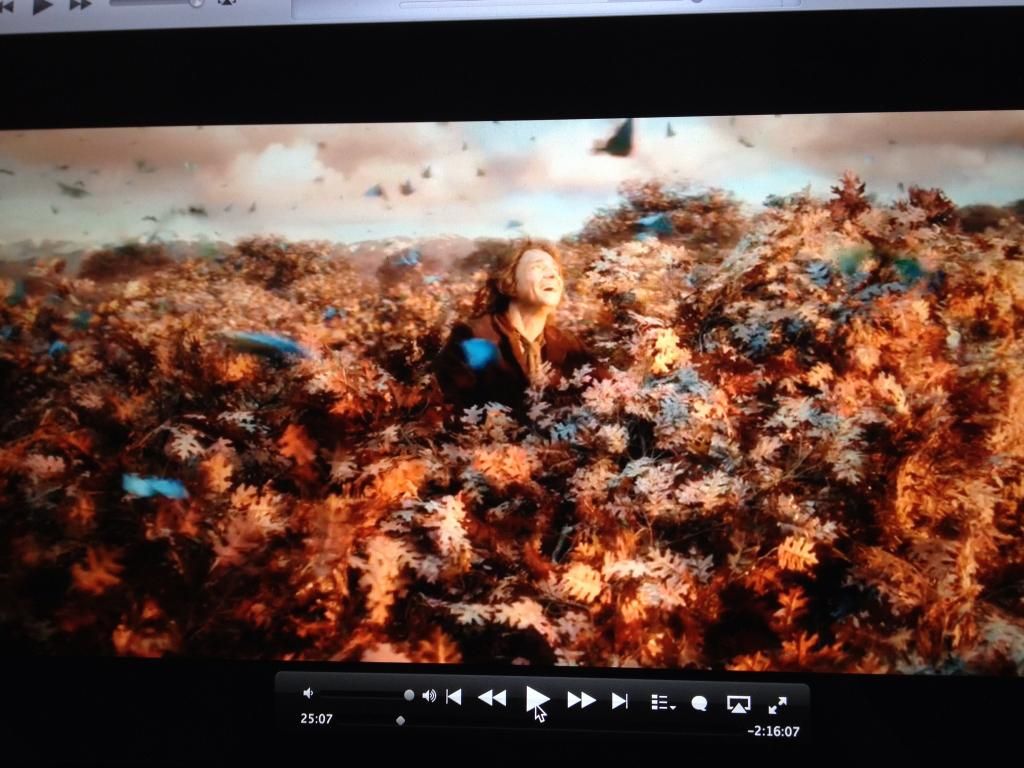
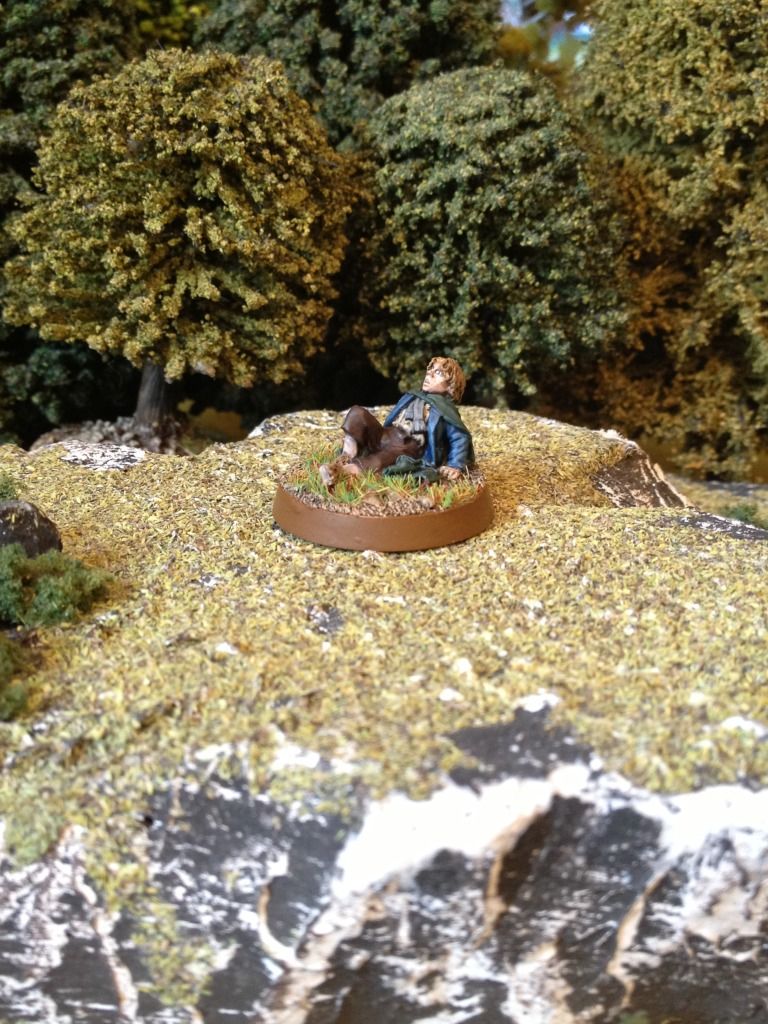
So with the trunks finished and in place I moved onto the leaves. I’d already decided to paint them in an autumnal scheme as I’d decided to place Bilbo at the top of one tree poking his head out like he does in the movie.
I sprayed all the leaf sprues white and then tested out a few different colour schemes, on one sprue I experimented with base coats of Vermin Fur, Deathclaw Brown and Vomit Brown, each washed with Agrax Earthshade, Seraphim Sepia and Carroburg Crimson for a total of 9 different looks (apologies for the combination of new and old paint names).
Once these had dried I decided on four colour schemes, I painted half of the leaves Vermin Fur and half Deathclaw Brown, I then washed half of each base colour with Agrax Earthshade and half with Carroburg Crimson for a total of 4 different base colours.
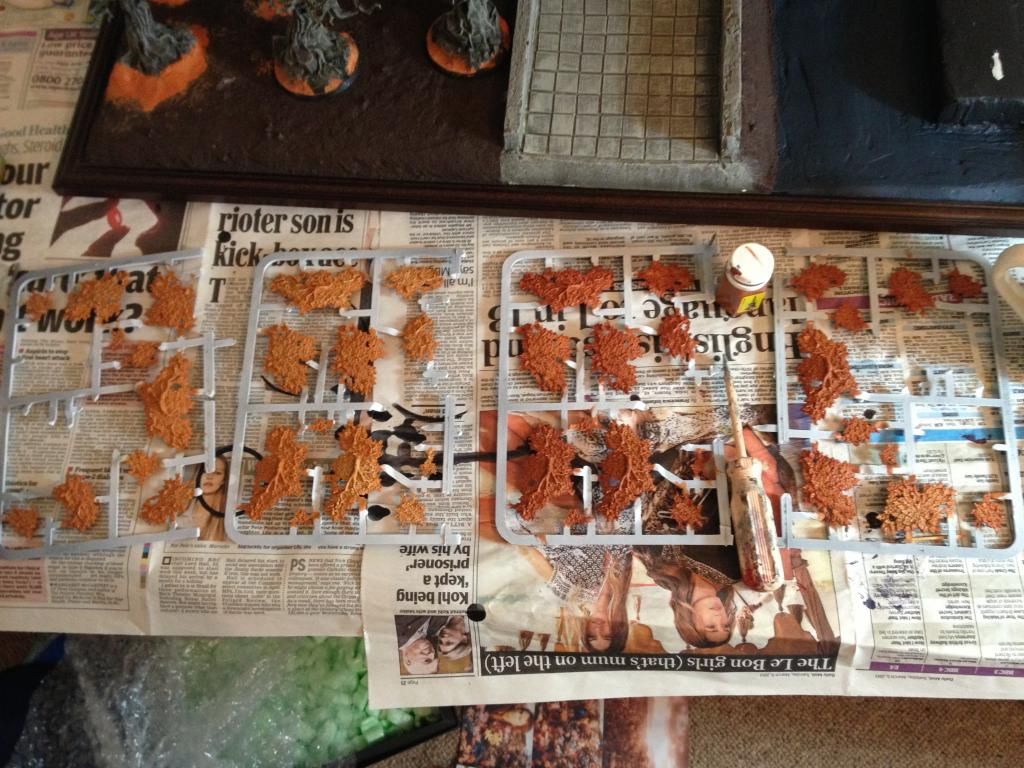
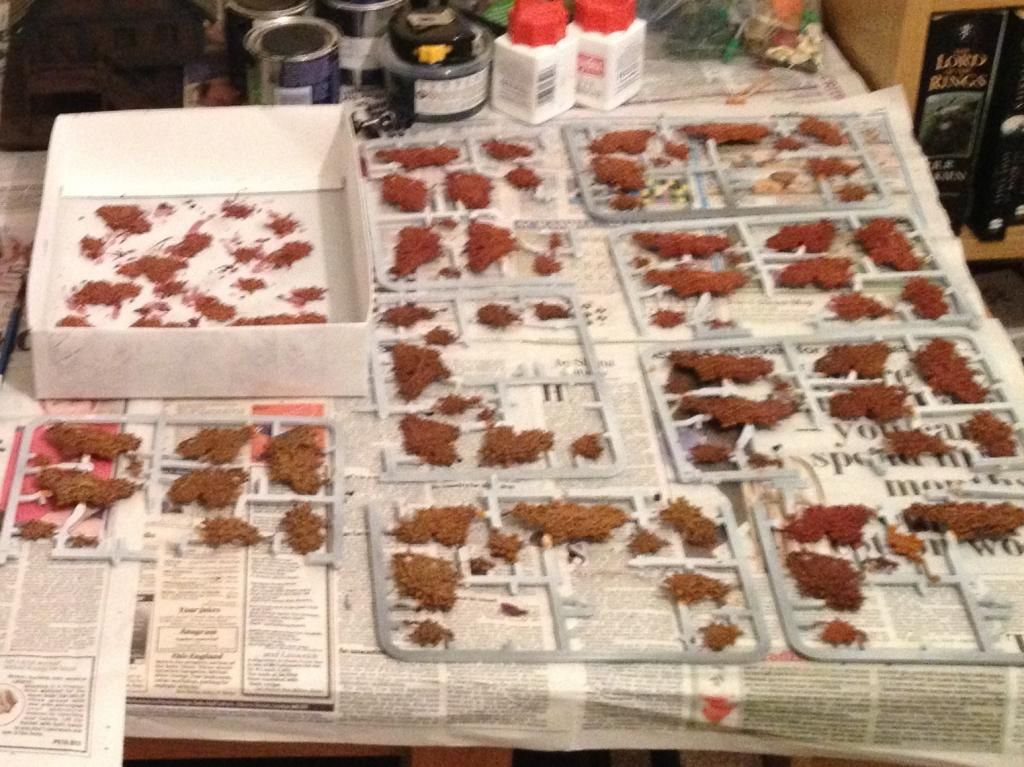
All of the leaves were then dry brushed with Vermin Fur, Deathclaw Brown and Vomit Brown before the branches on the leaves were picked out in Scorched Brown and Gorthor Brown. At this stage I must give a word of thanks to my wife who came in at the eleventh hour (I was painting the leaves on the Wednesday night before heading off to Throne of Skulls on Friday morning!) and helped me paint the branches. I liked the idea of making the branches at the top (where the sun would reach them) look brown and healthy in contrast to the grey and rotten branches beneath the canopy, I’m not sure how many people would have noticed that but I was pleased with the effect. It’s fair to say that having dry brushed all of the leaves with the same colours they ended up looking very similar and the variance of the 4 difference base colours was largely lost. However, again I feel that a subtle variance did survive and remains in the finished piece. So, with the leaves completed I removed them from their sprues and so was left wit the last, rather tedious. piece of painting work, touching up the 3 places on each piece where they had been attached to the sprue with Deathclaw Brown.
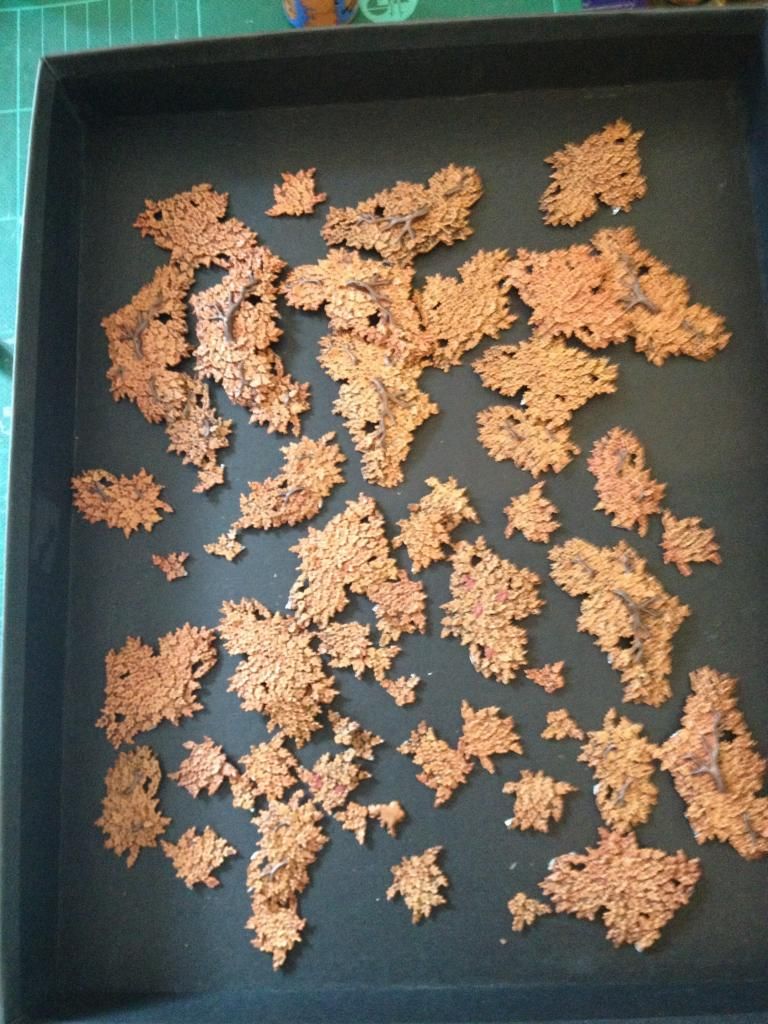
So, with all the painting finished I started to assemble the leaves on the tree trunks. I had heard absolute horror stories about how hard this would be from various forums and Youtube videos thanks to the small contact points of the leaves and trunks and I have to say I was pleasantly surprised. It was certainly an incredibly fiddly process but it wasn’t too frustrating and was actually quite satisfying trying to build up the full shapes of the trees. I began with the two spider trees as they would be independent game pieces and so needed to look good from all angles. Once these were completed I began work on the three trees on the display board, I glued the leaves onto these three trees with the other two spider trees in position on the board. I did this deliberately to ensure that I didn’t glue leaves onto the board trees where I would later need to place the spider trees. This worked well and effectively created a hole in the canopy to slide the two spider trees into. The rest of the leaves were then glued onto the three tree trunks in one big mass, I deliberately assembled them as one big canopy rather than three individual trees to add to the effect of an intertwining, thick canopy and I think it worked really well.
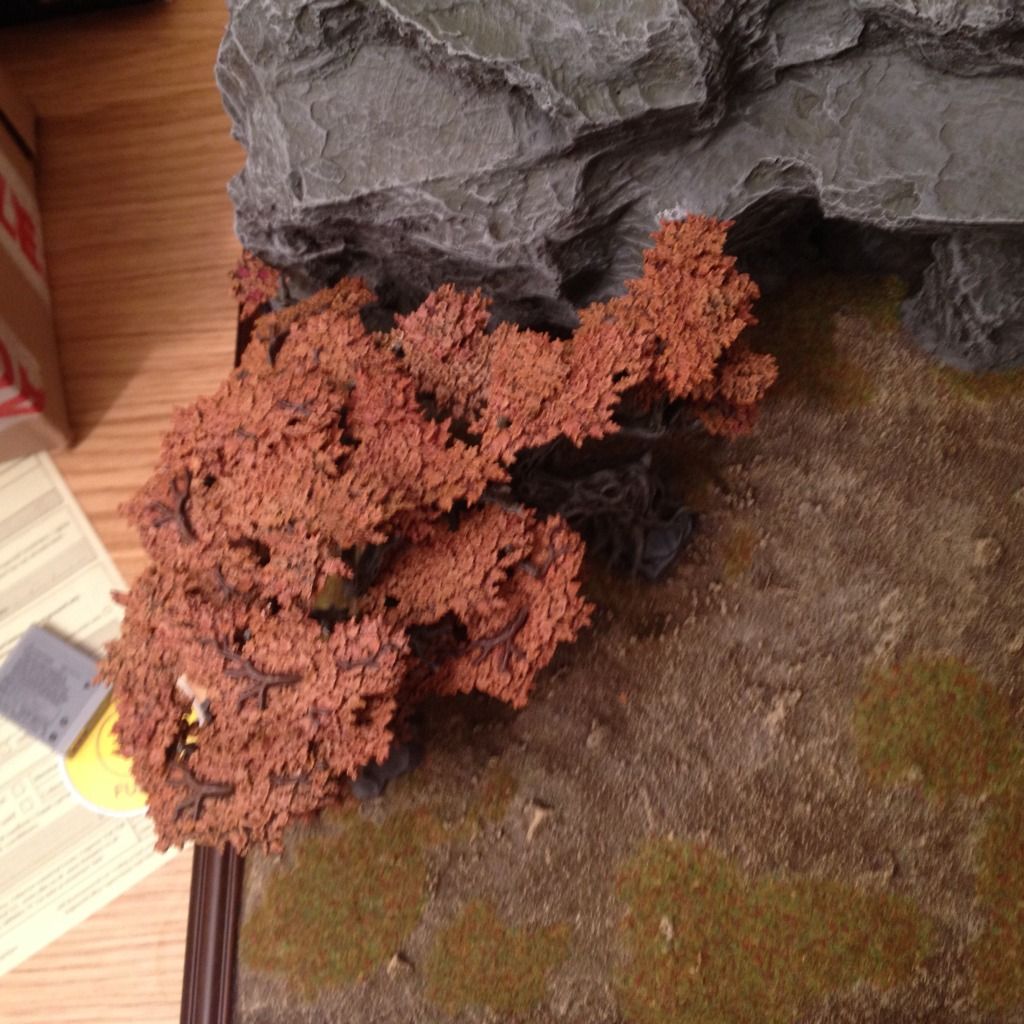
Birds Eye view - note semi-circular hole on right to allow spider tree to slot in
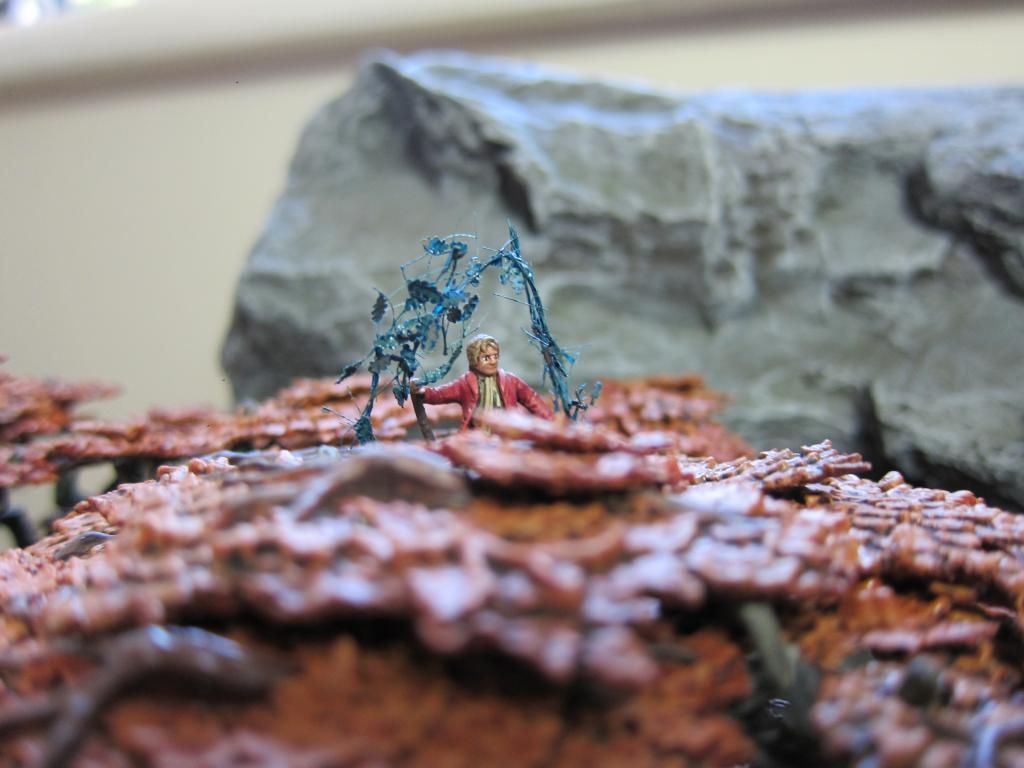
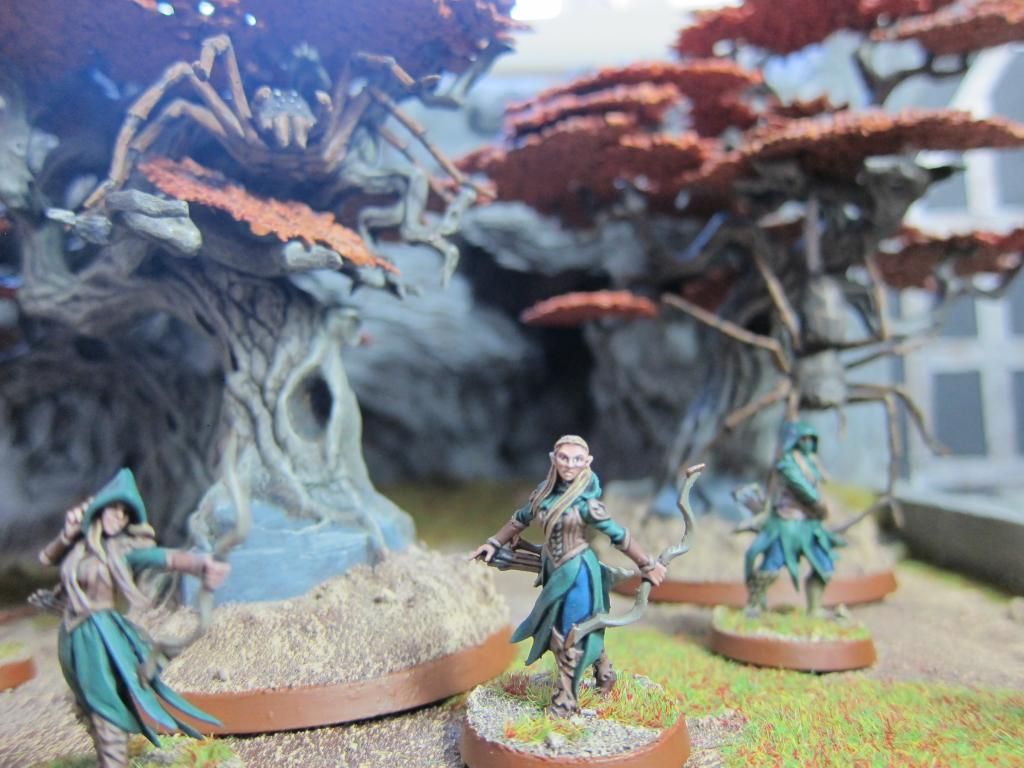
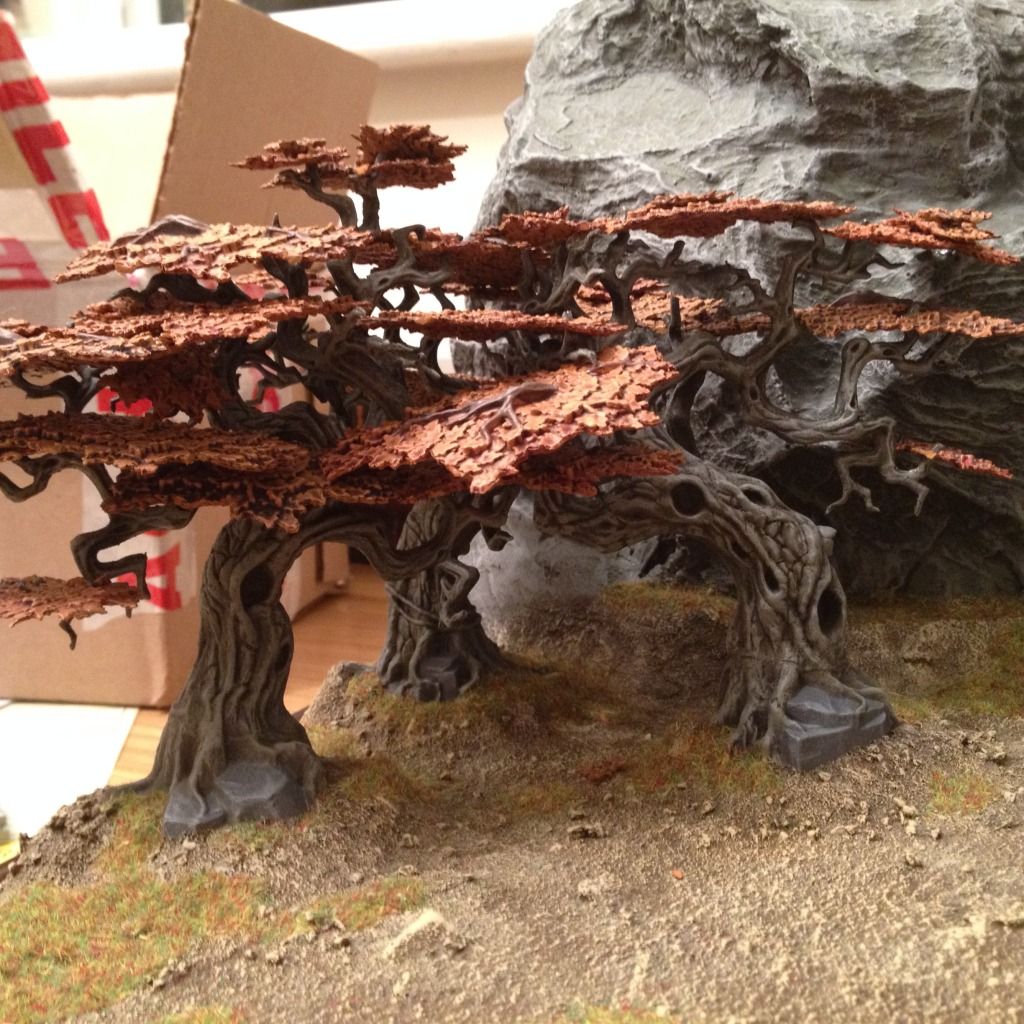
And that was that really, the leaves were in place and I slotted my canopy Bilbo (see page 11 of this thread) into the nest I had created for him in one of the spider trees. I must admit that I was really pleased with how the finished trees look, I think the colour scheme is a good replica of the scene from the movie and I think the 5 trees together made a good looking forest. I think it’s worth reiterating my point about how many leaves you need though; as I said I used the leaves from 8 or 9 trees (in terms of what you’re given in the Citadel Wood kit) for 5 tree trunks and I only covered about two thirds of three of those (to allow the spider trees space to slot in) to give the impression of a thick canopy and I think, should you want to create an authentic looking wood then you will comfortably need twice as many leaves as you get given in the kit. I really like the effect that the Citadel Wood creates but I must admit I will be in absolutely no hurry to assemble another one, I’m still having nightmares about all those mould lines…
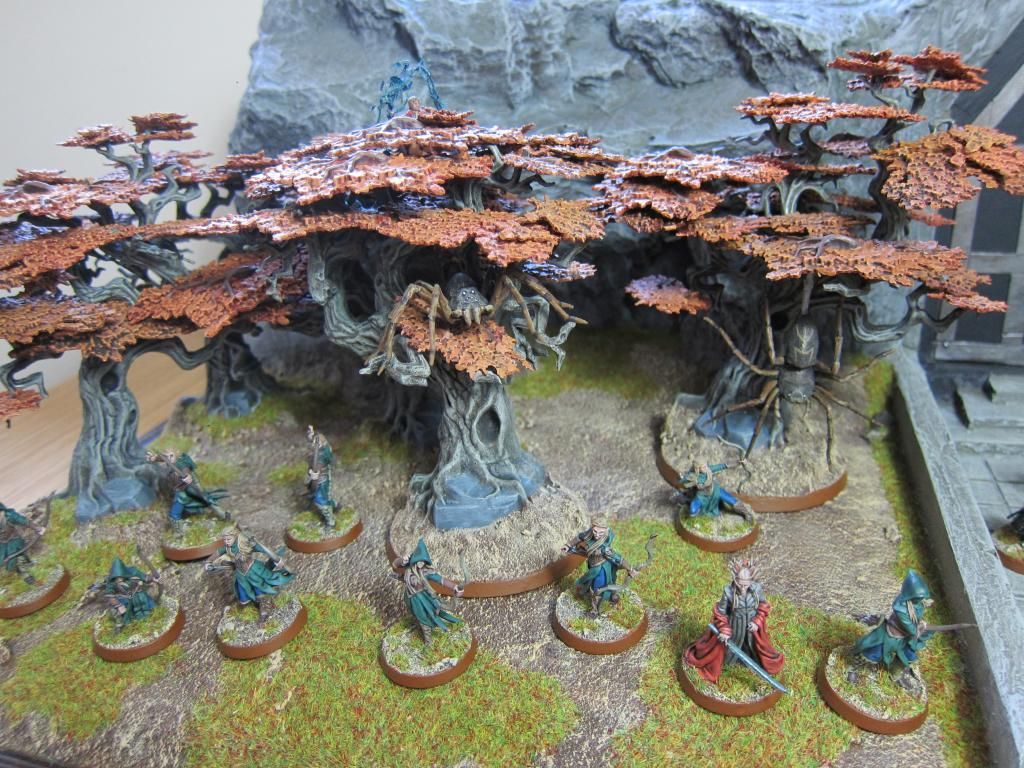
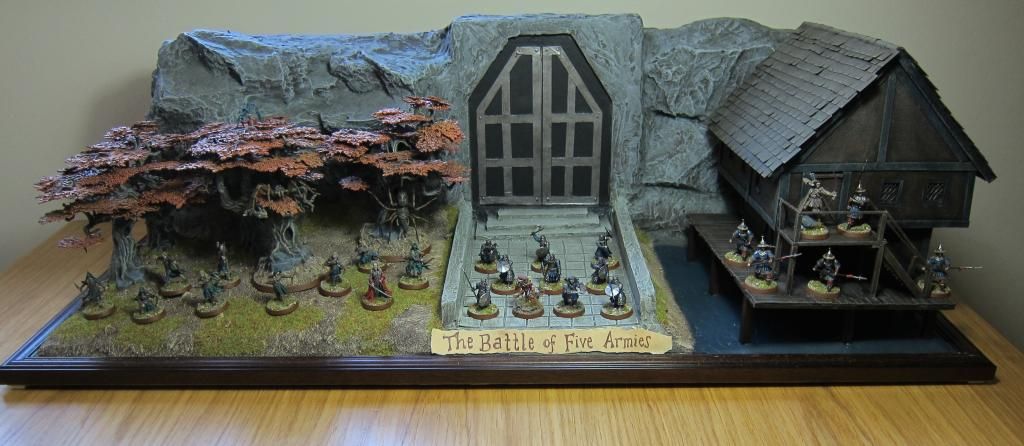
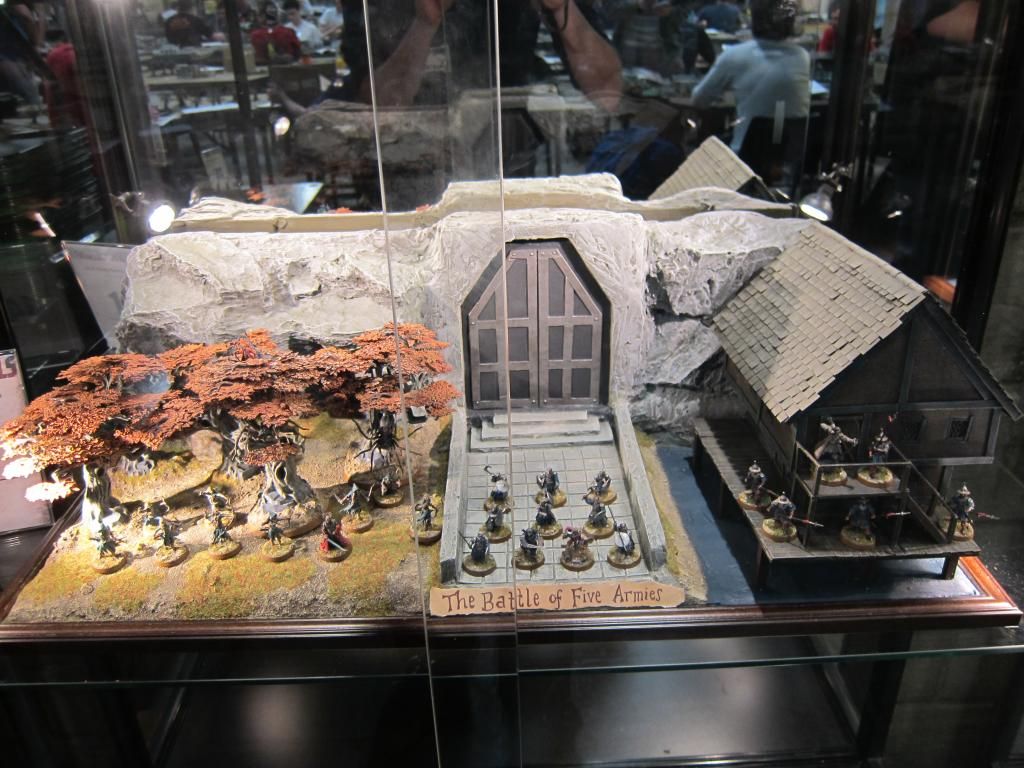
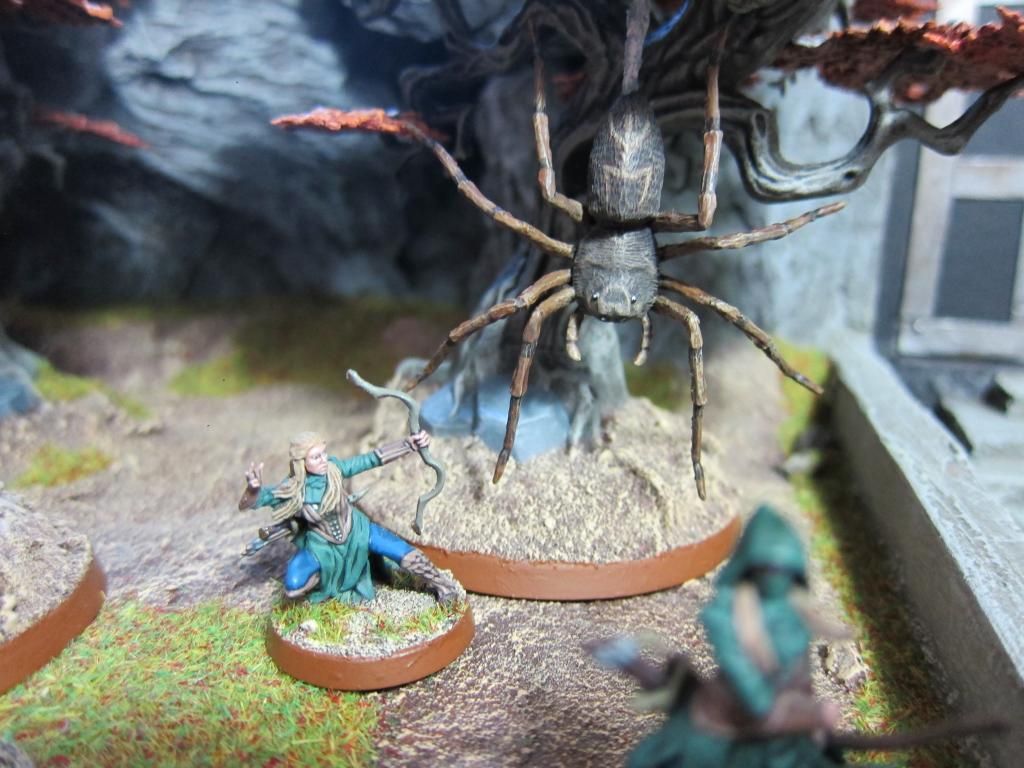
The finished Mirkwood section and its guardians
So that’s the story behind the trees on my display board, hope you enjoyed it and that you’re all looking forward to the final part where I’ll go through the construction of the board itself.
Until next time!
 Top
Top Top
Top Top
Top Top
Top Top
Top Top
Top Top
Top Top
Top Top
Top Top
Top Top
Top Top
Top Top
Top Top
Top Top
Top Top
Top Top
Top Top
Top Top
Top Top
Top



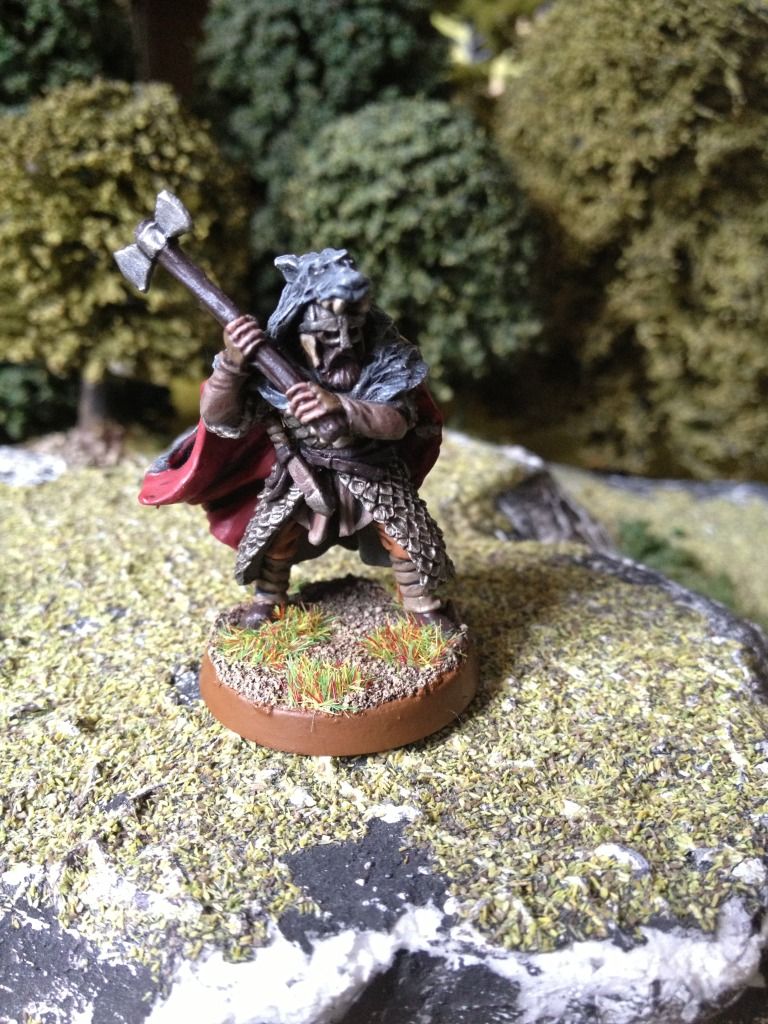
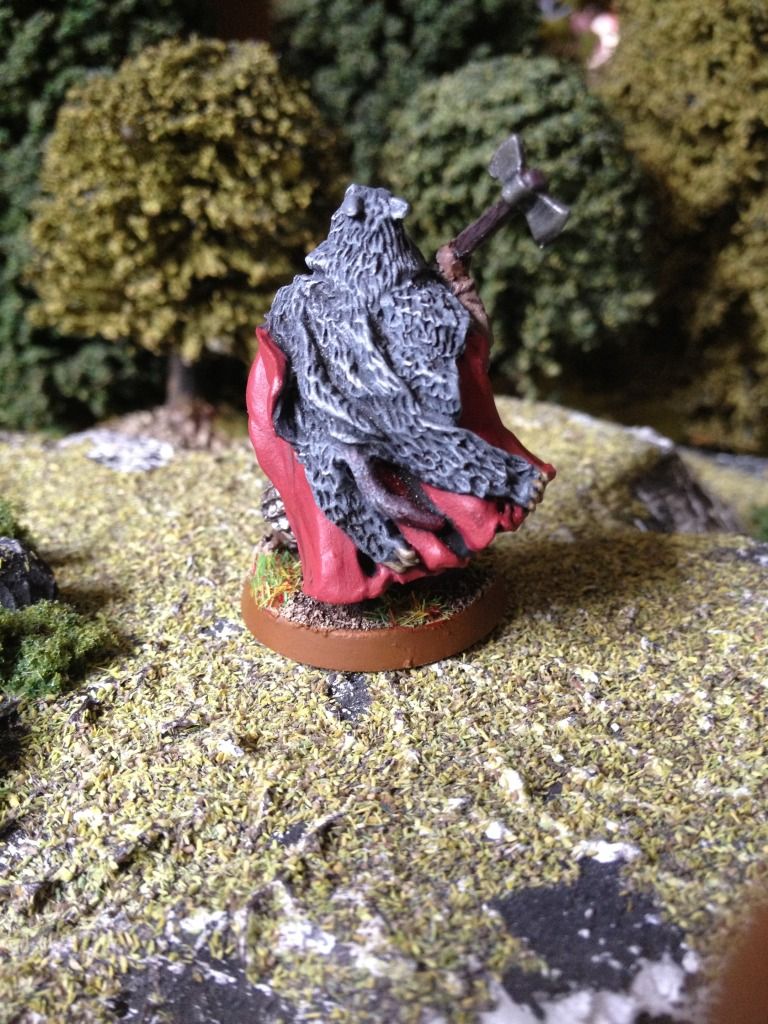




 I like the idea of a display board that fits in the cabinet