Well guys it took a bit longer then I expected but the
new update is here. I had a few problems, first
where to place the stairs to the first level and how
to make it look good. I probably wasted an hour
or two staring at the ruin thinking what to do.
I tried (made) several options but they didn't turn out
the way I hoped for. Aside the starring it just takes an
hell of alot of time to make one simple wall let alone 3-4
which I've. Anyway enough talking, the pics:
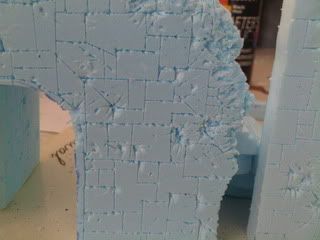
Close up of a carved piece of wall to show you guys
the stages they go through before they're ready to be
gluid at my ruin. This is stage 1.
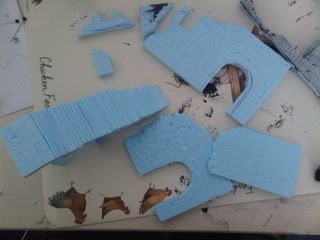
As you can see at the picture above I prefer making
and carving everything, while they aren't gluid together.
It's just easier for me to paint when they reach 'stage 2'.
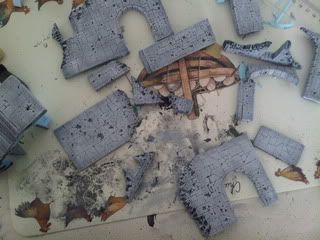
All pieces painted, it's probably one big puzzle for you guys at this point haha. But I probably placed all pieces a dozen of times on their right
places to see if it looked good, which makes it alot easier for me ofcourse.
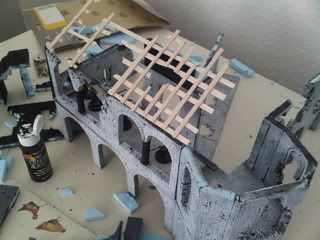
A small sneak peak of the roof. I just need to add roof
tiles and a bit of paint.
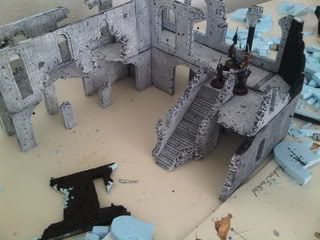
An picture of the inteir inner wall, for those who
followed the previous updates might see what changed.
For those who didn't. I placed an hole new floor on the
left side together with the broken wall beneath.
On the right I placed the stairs. Beneath the stairs is a doorway, something I came up with while starring at it actually and
I think it turned out awesome. I would like to hear your opinion about it.
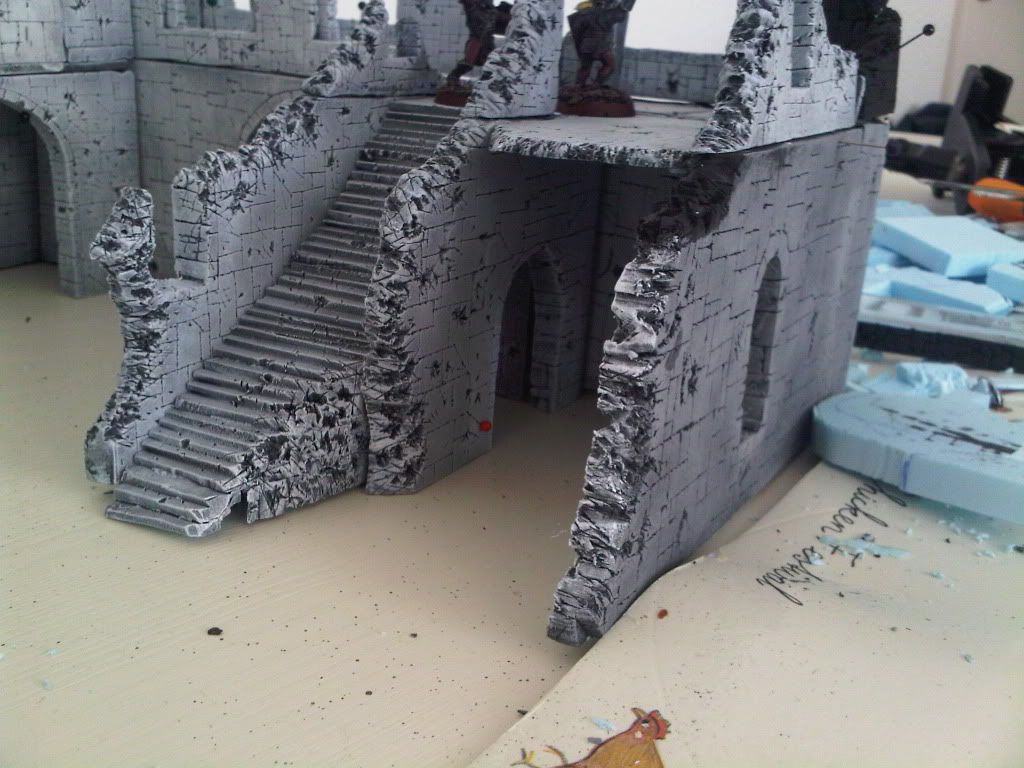
I made the picture bigger on purpose, because the smaller
version didn't show what I would like you to see. Note that
it's still not 100% finished, it needs a bit of paint here and
there and I might change a thing too if I don't like something.
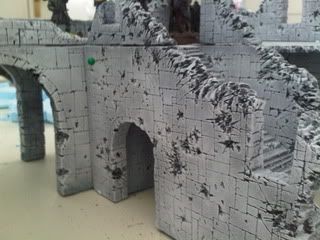
The doorway in all his glory, mini's can be placed
under the stairs ofcourse. Up next, the roof!
Next update probably wont come anytime soon though,
I have an introduction week of my university next week.
Anyway, let me know if you like it!
Tim
 Top
Top Top
Top Top
Top Top
Top Top
Top Top
Top Top
Top Top
Top Top
Top Top
Top Top
Top Top
Top Top
Top Top
Top Top
Top Top
Top Top
Top Top
Top Top
Top Top
Top


 Or is this to much? Ah well it's your work, surprise me
  . Good luck.


 It is even better than I thought.