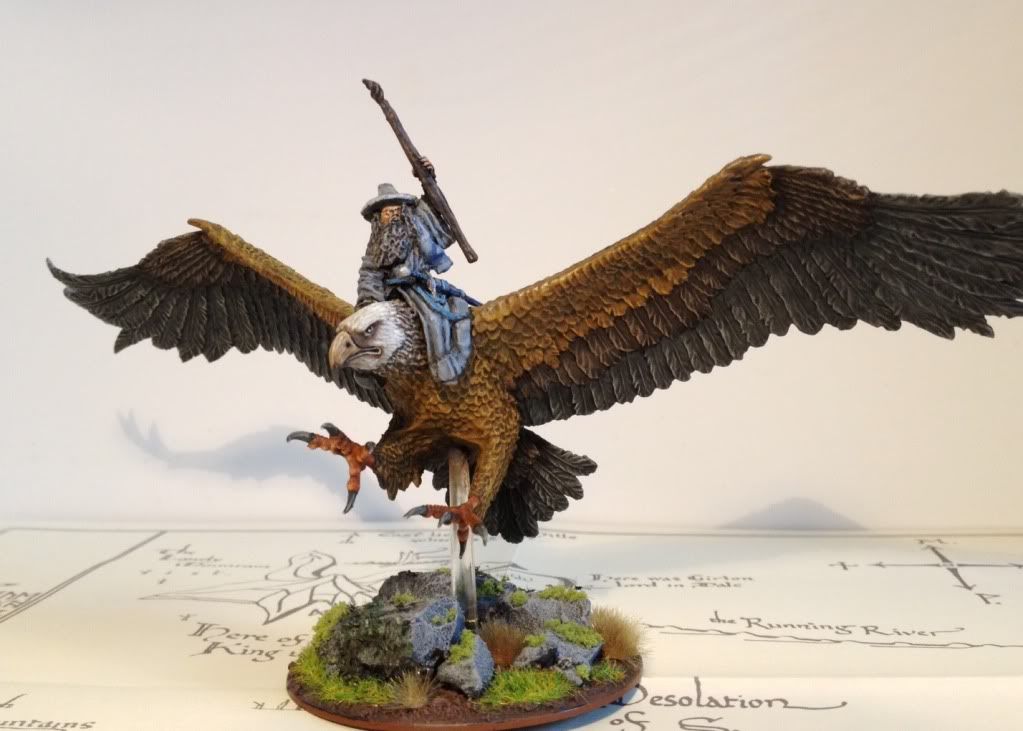
Ahhhh... I guess it needs to be approved by a moderator first! Sorry telchar, thought it was open to everyone :O
EDIT: I just copy-pasted the most relevant part - Enjoy! Also, I have additional photos if you need them
 Step 1:
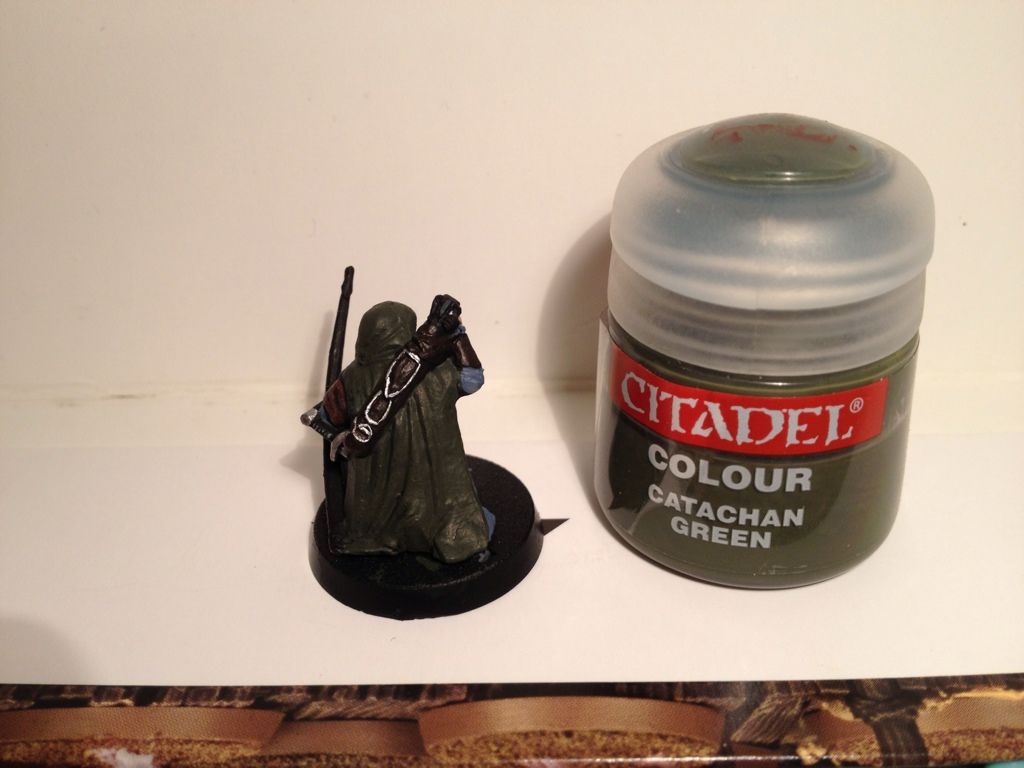
 Basecoat the whole area with a darkish colour, e.g. Catachan Green/Castellan Green. This is the
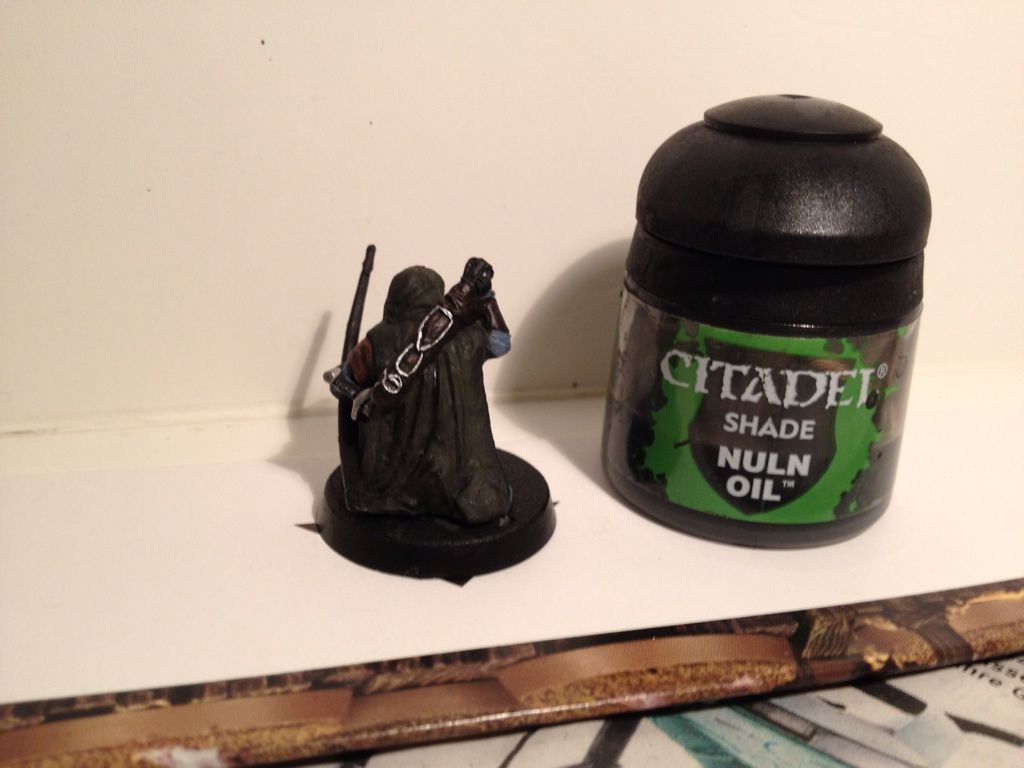
base colour. As this model's cloak doesn't have many deep folds, I painted the whole cloak in the base colour. For very deep folds (such as Gandalf's robes), I recommend leaving the deepest parts black, as this is more realistic. Once the base colour has dried, wash with Badab Black/Nuln Oil for some shading.
 Step 2:
 For this step, a lighter tone of the base colour is chosen and mixed 1:1 to the base colour to create the
middle colour. In this example, Knarloc Green/Loren Forest was added to Catachan Green/Castellan Green. Alternatively, Bleached Bone/Ushabti Bone can be added to the base colour for a similar effect. The middle colour is then painted on the more elevated parts (the parts closer to the source of light), leaving the base colour and shading in the recesses.
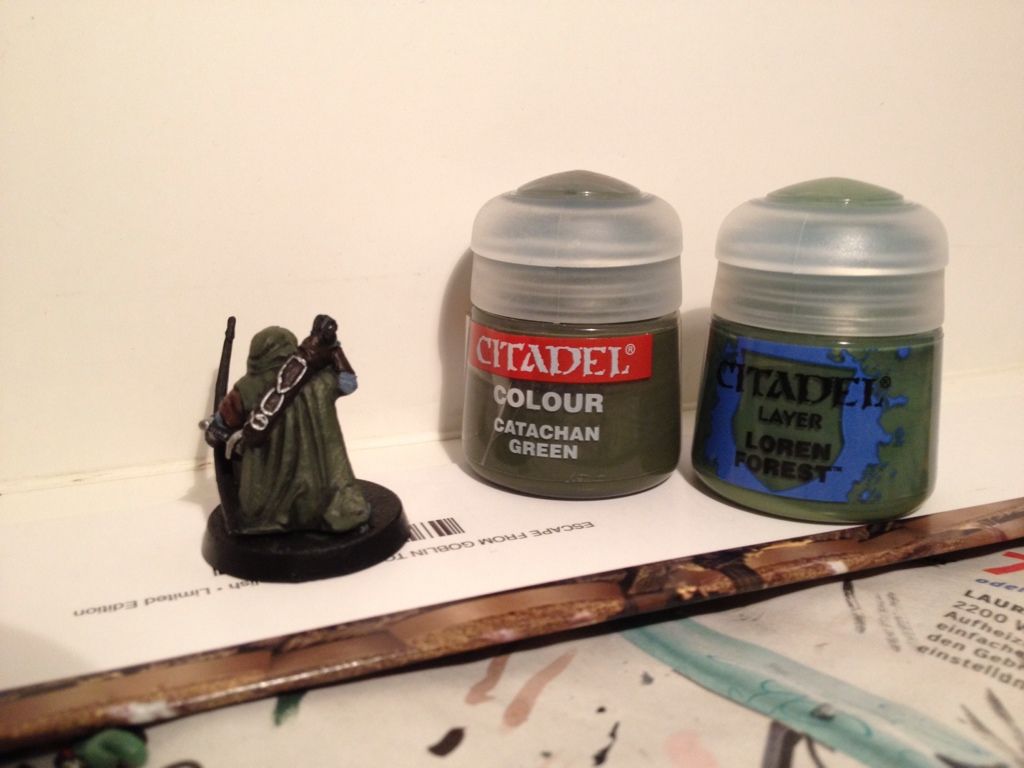 Step 3:
For the highlighting colour, I often use the colour that was added to the base colour in step two, e.g. Knarloc Green/Loren Forest.
There are two ways to approach highlighting. The simplest way is to apply the highlight straight from the pot; however, doing so makes the highlight look unnaturally sharp and clashes with the background. By adding three drops of water to the highlighting colour (see pic below for a rough idea of the ideal consistency), a much more pleasing highlight, that blends into the underlying colours, can be achieved.
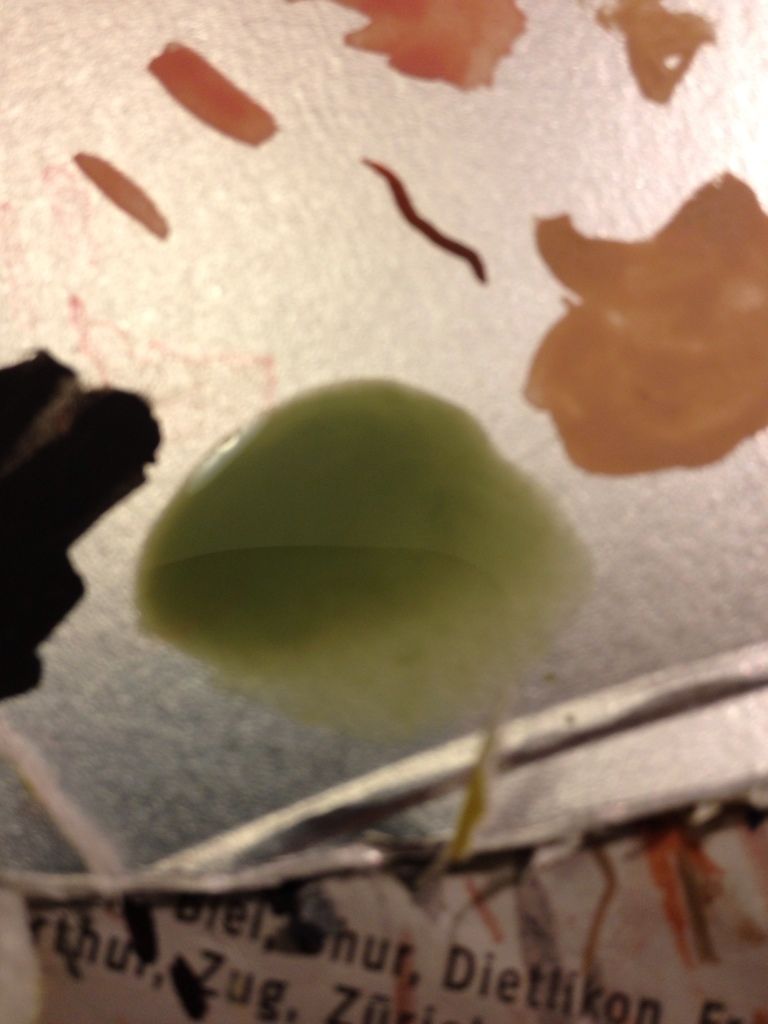
Using a fine detail brush, the diluted highlight colour is slowly dragged along the most elevated parts, such as the tip of high folds and edges; places that the light would hit the strongest. The diluted paint leaves a faint trace that 'flows' into the lower layers, giving a more subtle highlight. Don't despair if your brush deposits too much paint; quickly brush your paintbrush off on a piece of kitchen roll and use the brush to 'suck' up the stray diluted paint droplet. Also, it may take a few passes before the highlight is visible, so it's worth going over a few times.
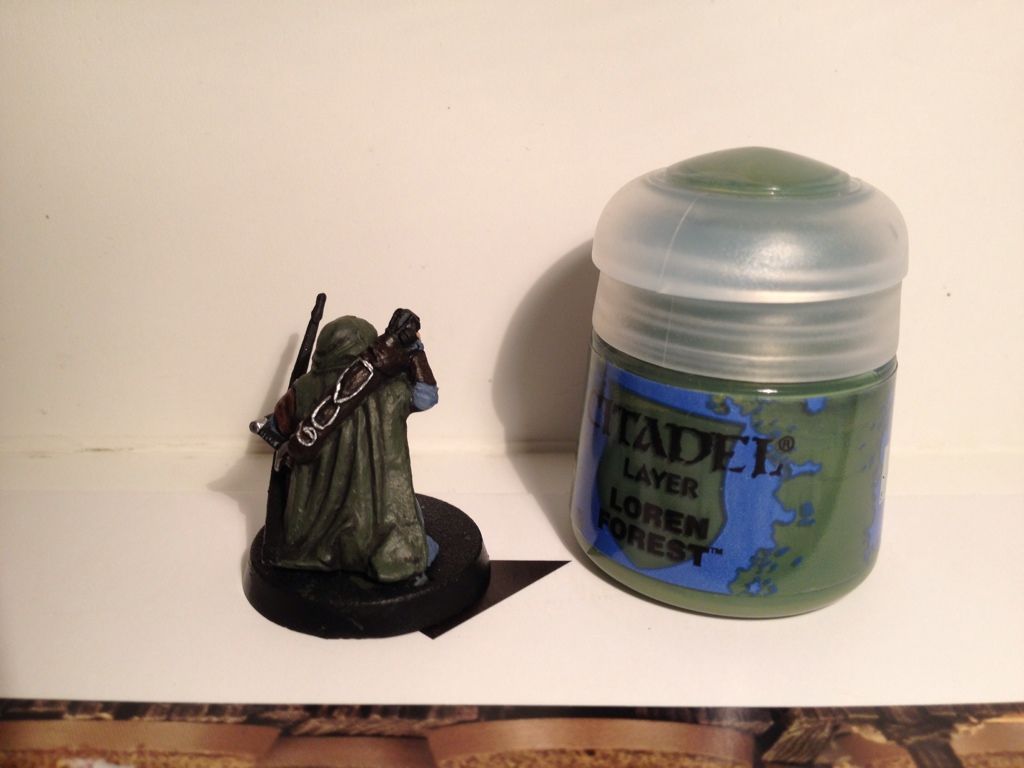
As you can see, the cloak now has subtle shading and highlighting, which I'm sure is enough for most painters. If the highlight is too subtle for certain tastes, an additional highlight can be added...
Step 4: Using the same techniques as in step 3, an additional highlight can be added to further simulate the effect of light on a model. To create a lighter highlight, I mix Bleached Bone/Ushabti Bone 1:1 with the highlighting colour (Knarloc Green/Loren Forest) and apply as before:
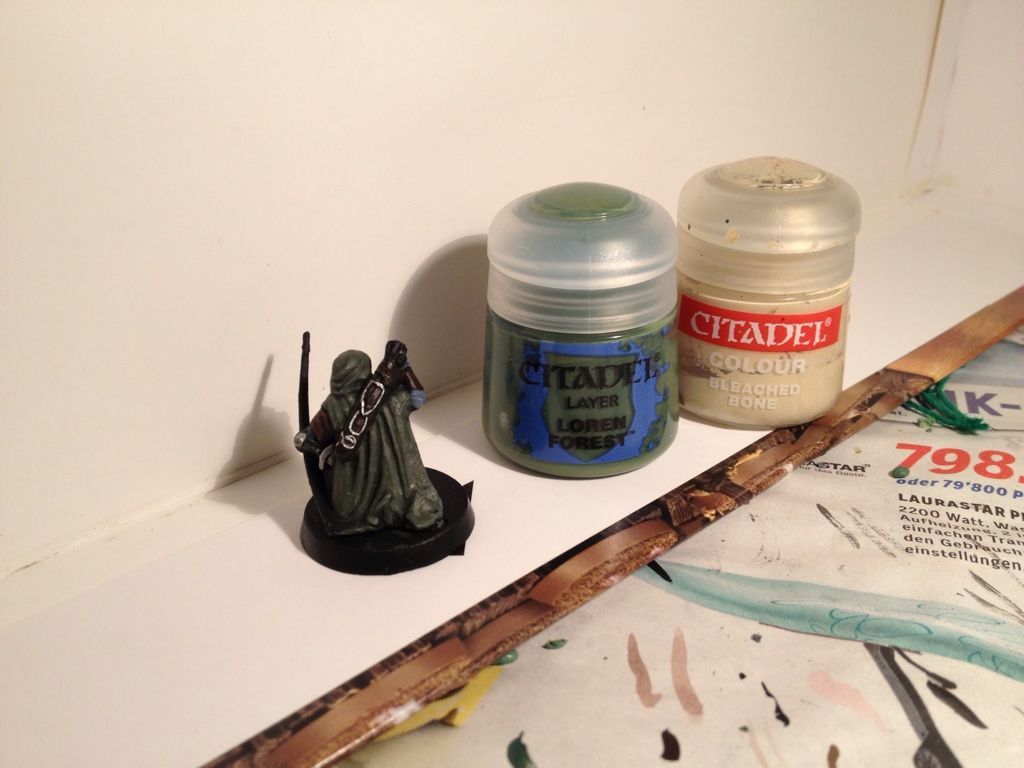
There we have it! Using three (okay, four) simple steps a decent light effect can be achieved by anyone.
The steps used in this guide can be used for pretty much all sorts of highlighting, even metals. Just remember dark colour - middle colour - light colour and you can't go wrong!
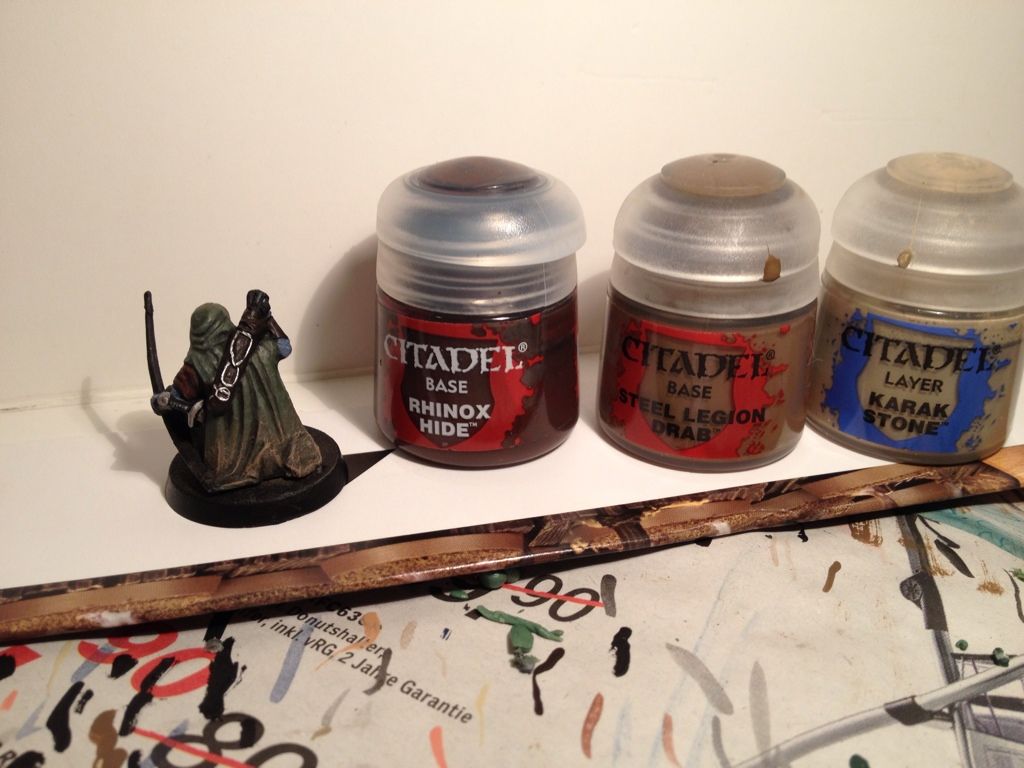
Weathering effects can also be created using the basics of highlighting: Just drybrush Scorched Brown/Rhinox Hide, Graveyard Earth/Steel Legion Drab and Kommando Khaki/Karak Stone to add the finishing touches to your realistic, well-highlighted cloak!
 Top
Top Top
Top Top
Top Top
Top Top
Top Top
Top Top
Top Top
Top Top
Top Top
Top Top
Top Top
Top Top
Top Top
Top Top
Top Top
Top Top
Top Top
Top Top
Top Top
Top


